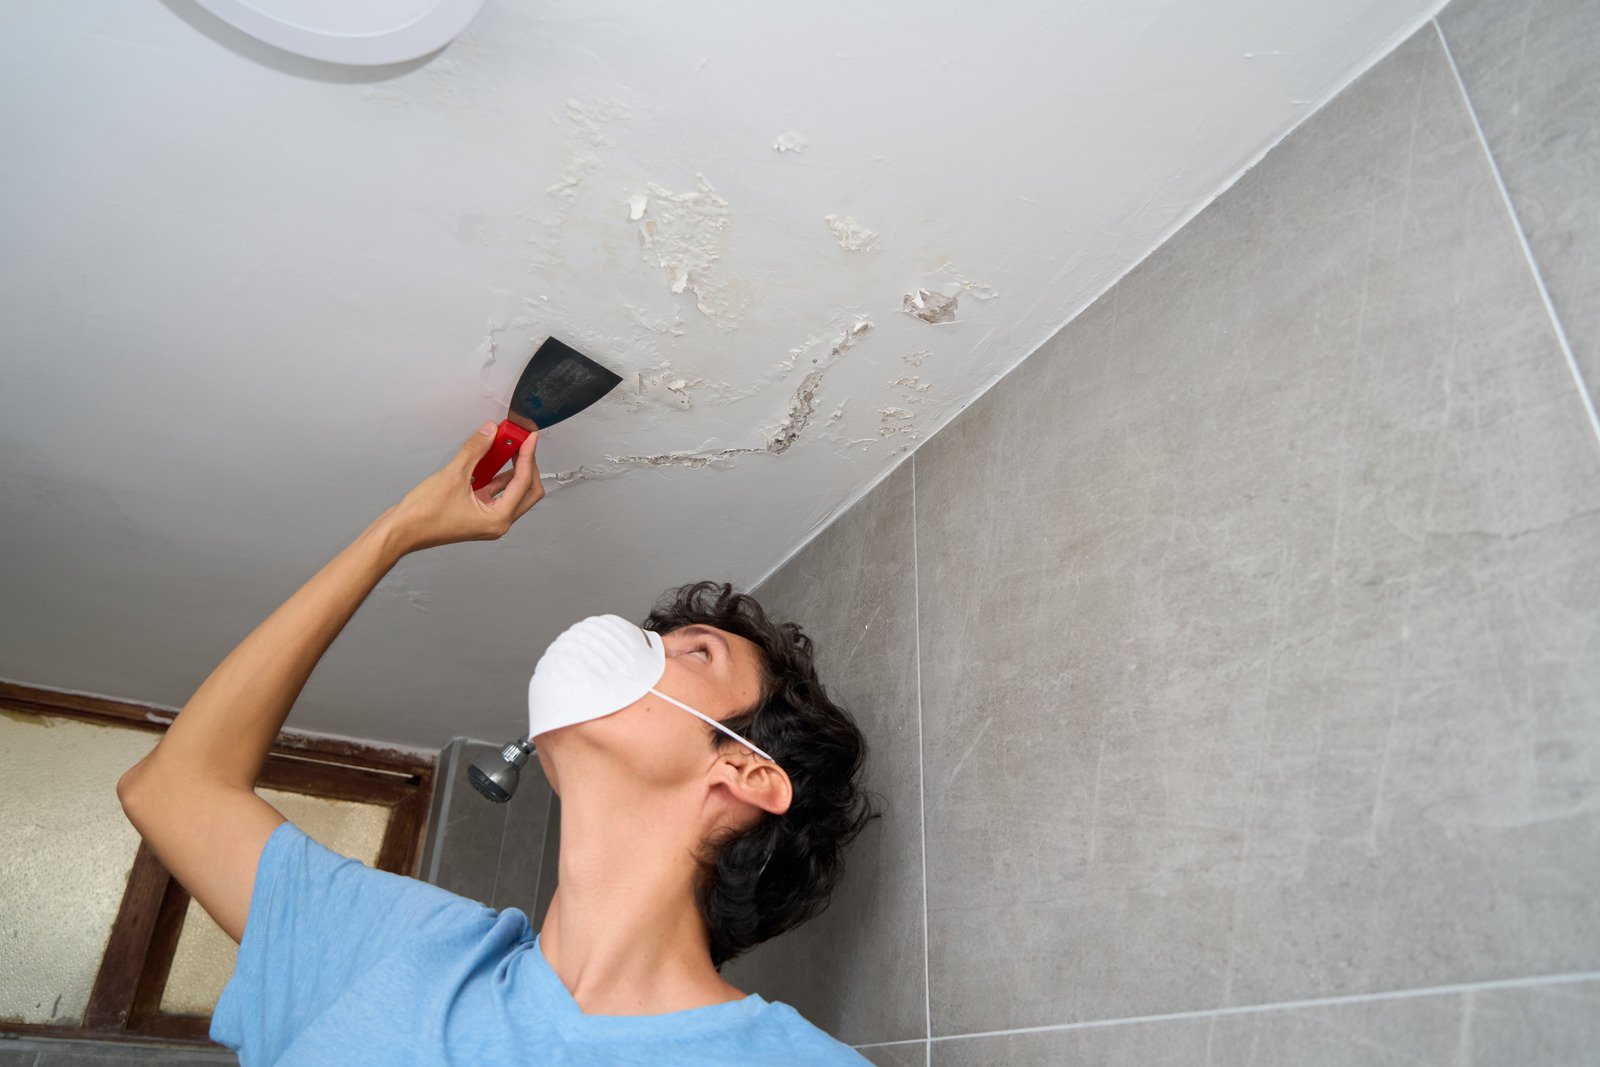
This DIY task requires careful planning and skill to minimize risks including asbestos exposure, dust pollution, and structural damage. In order to ensure a modernized home and better indoor air quality, Drywall Medic offers comprehensive advice on what to do before attempting popcorn ceiling removal.
-
Check for Asbestos and Other Hazards
Popcorn ceilings from the 1980s may contain asbestos, a harmful material used in construction, which can cause severe respiratory and cancer issues, making asbestos removal crucial.
-
Testing for Asbestos
If asbestos is present, contact an asbestos abatement specialist for removal. This process requires specialized containment procedures, protective gear, and equipment.
-
Identifying Other Harmful Materials
Lead-based paint was prevalent in older homes, necessitating testing for lead, especially those built before 1978, similar to asbestos, which necessitates careful handling to prevent health risks during removal.
-
Prepare the Room for Dust and Debris Control
Proper preparation is crucial for popcorn ceiling removal, as it not only protects your belongings but also minimizes cleanup and prevents dust from spreading throughout your home.
-
Remove Furniture and Cover Floors
Remove heavy objects and furniture using thick plastic sheeting to prepare the space for cleaning. To collect dust and debris, place a protective layer—such as a drop cloth—on the floor.
-
Seal Off Adjacent Rooms
By using painter’s tape or plastic sheeting to cover up windows, doorways, and air vents, our experts successfully isolate work areas to stop dust from spreading throughout your house.
-
Gather the Necessary Tools and Materials
Popcorn ceiling removal involves specialized tools and materials to achieve a clean finish without damaging the drywall underneath. Here are the essentials:
-
Scraper Tool and Ladder
You will need a wide scraper tool specifically designed for ceiling texture removal, as well as a stable ladder to reach the ceiling comfortably.
-
Protective Gear
Equip yourself with safety glasses, a dust mask or respirator, and gloves to protect your eyes, lungs, and skin.
-
Spray Bottle or Pump Sprayer
Lightly spraying the popcorn ceiling with water before scraping will soften the material, making it easier to remove without damaging the drywall underneath. A professional team will bring appropriate tools to control water application and manage moisture levels effectively.
-
Turn Off HVAC Systems and Cover Vents
Since removing a popcorn ceiling releases a large amount of dust, it is essential to protect your HVAC system and prevent dust from circulating.
-
Turn Off the HVAC System
Drywall Medic ensures your home’s air quality by shutting down your heating or cooling system, covering HVAC vents, and controlling dust flow to keep dust and particles contained within your work area.
-
Cover Vents and Openings
Cover air vents, electrical outlets, and light fixtures with plastic and secure them with painter’s tape to prevent dust from escaping the room and expedite the cleanup process.
-
Consider Moistening the Ceiling Before Scraping
A vital step in the popcorn ceiling removal process is moistening the texture, which helps to minimize dust and prevent damage to the underlying drywall.
-
Light Water Spray
Use a pump sprayer to lightly mist the ceiling with water, being cautious not to over-saturate it, as this can cause damage to the drywall.
-
Timing Is Key
Allow the water to sit for 10-15 minutes before scraping to loosen the texture and make it easier to remove in larger sections. Work with an expert to efficiently handle timing and technique to avoid mess and damage.
-
Protect the Drywall and Perform Post-Scrape Repairs
After scraping the popcorn texture off the ceiling, you may find that the drywall underneath has minor imperfections that require repairs before repainting or resurfacing.
-
Repair Any Dings or Gouges
Removing popcorn texture often reveals minor damage or dents in the ceiling surface. Using a drywall compound to fill these imperfections is essential for a smooth, professional finish.
-
Sanding and Smoothing
After filling dings or cracks, light sanding may be necessary, but excessive dust release should be avoided using vacuum sanders or HEPA-filtered equipment.
-
Prime and Paint for a New, Fresh Finish
The final steps in restoring a ceiling are priming and painting, which seal the surface and ensure proper paint adhesion after preparing and repairing it.
-
Apply a High-Quality Primer
Choose a high-quality primer for ceiling priming to ensure an even base for paint and prevent stains or imperfections from showing through, especially for water stains or discoloration.
-
Paint in Your Desired Finish
Drywall Medic provides professional painting services for ceilings, ensuring a smooth, modern look with matte or eggshell finishes. This ensures a flawless, long-lasting result that elevates your home’s aesthetics.
Why Choose Drywall Medic for Your Popcorn Ceiling Removal?
A trustworthy business that specializes in drywall repair and popcorn ceiling removal is Drywall Medic. With a highly skilled staff managing hazardous products, dust containment, and post-removal repairs, they provide premium, smooth ceilings safely and effectively.
In order to provide trustworthy results, Drywall Medic works with professional inspectors to guarantee a safe asbestos and lead testing procedure. Throughout the process, they also ensure clean air quality by using industry-standard dust containment techniques. Drywall Medic also offers professional painting and smooth drywall restoration, guaranteeing a sleek, contemporary appearance for your ceiling makeover. Here are the contact details of Drywall Medic:
- Victoria, BC: #136 – 2936 Amy Rd, Victoria, BC, V9B 0B2, Contact Number- 250-880-8849,
- Vancouver, BC: 6894 192 St, Surrey, BC V4N 0B7, Contact Number- 604-913-4656


