Interior painting is a fantastic way to refresh your home’s appearance, infusing it with new energy and style. Understanding common interior painting mistakes and learning how to avoid them can save you time, money, and effort while ensuring a professional-looking finish. Here are some of the most frequent pitfalls and tips on how to steer clear of them.
Skipping Surface Preparation
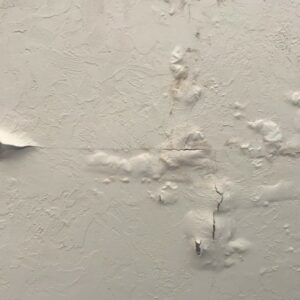
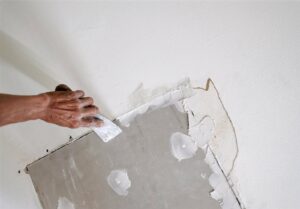
- The Mistake: One of the most common mistakes is not priming the surface well enough before painting. Many people rush into painting without taking care of problems like dirt, grease, cracks, or peeling paint because they are anxious to see the finished product. Regrettably, this may result in a harsh finish, inconsistent coverage, and poor paint adherence.
- How to Avoid It: It’s important to prepare the surface properly. To start, thoroughly clean the walls using a light detergent to get rid of any grease, dust, or filth. You might need to use a degreaser for oily or tenacious stains. Examine the walls for holes, cracks, or flaking paint after cleaning. Sand the surface smooth, use caulk or spackling paste to fill in any irregularities, and make sure it dries fully.
Not Using Primer
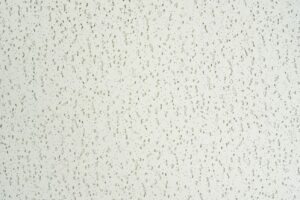
- The Mistake: Many DIY painters either skip the primer or choose an all-in-one paint and primer product. While this might seem like a time-saver, not using a dedicated primer can result in uneven color, poor adhesion, and a lackluster finish, especially on surfaces that are stained, porous, or previously painted with a darker color.
- How to Avoid It: Always use a high-quality primer appropriate for your surface. A primer serves as a foundation for your paint, helping to block stains, improve adhesion, and ensure a uniform color. For new drywall, a drywall primer is essential. For surfaces with heavy stains or those transitioning from dark to light colors, a stain-blocking primer is recommended. Even if you are using a paint-and-primer-in-one product, it’s often better to apply a separate primer first for the best results.
Using Low-Quality Paint and Tools
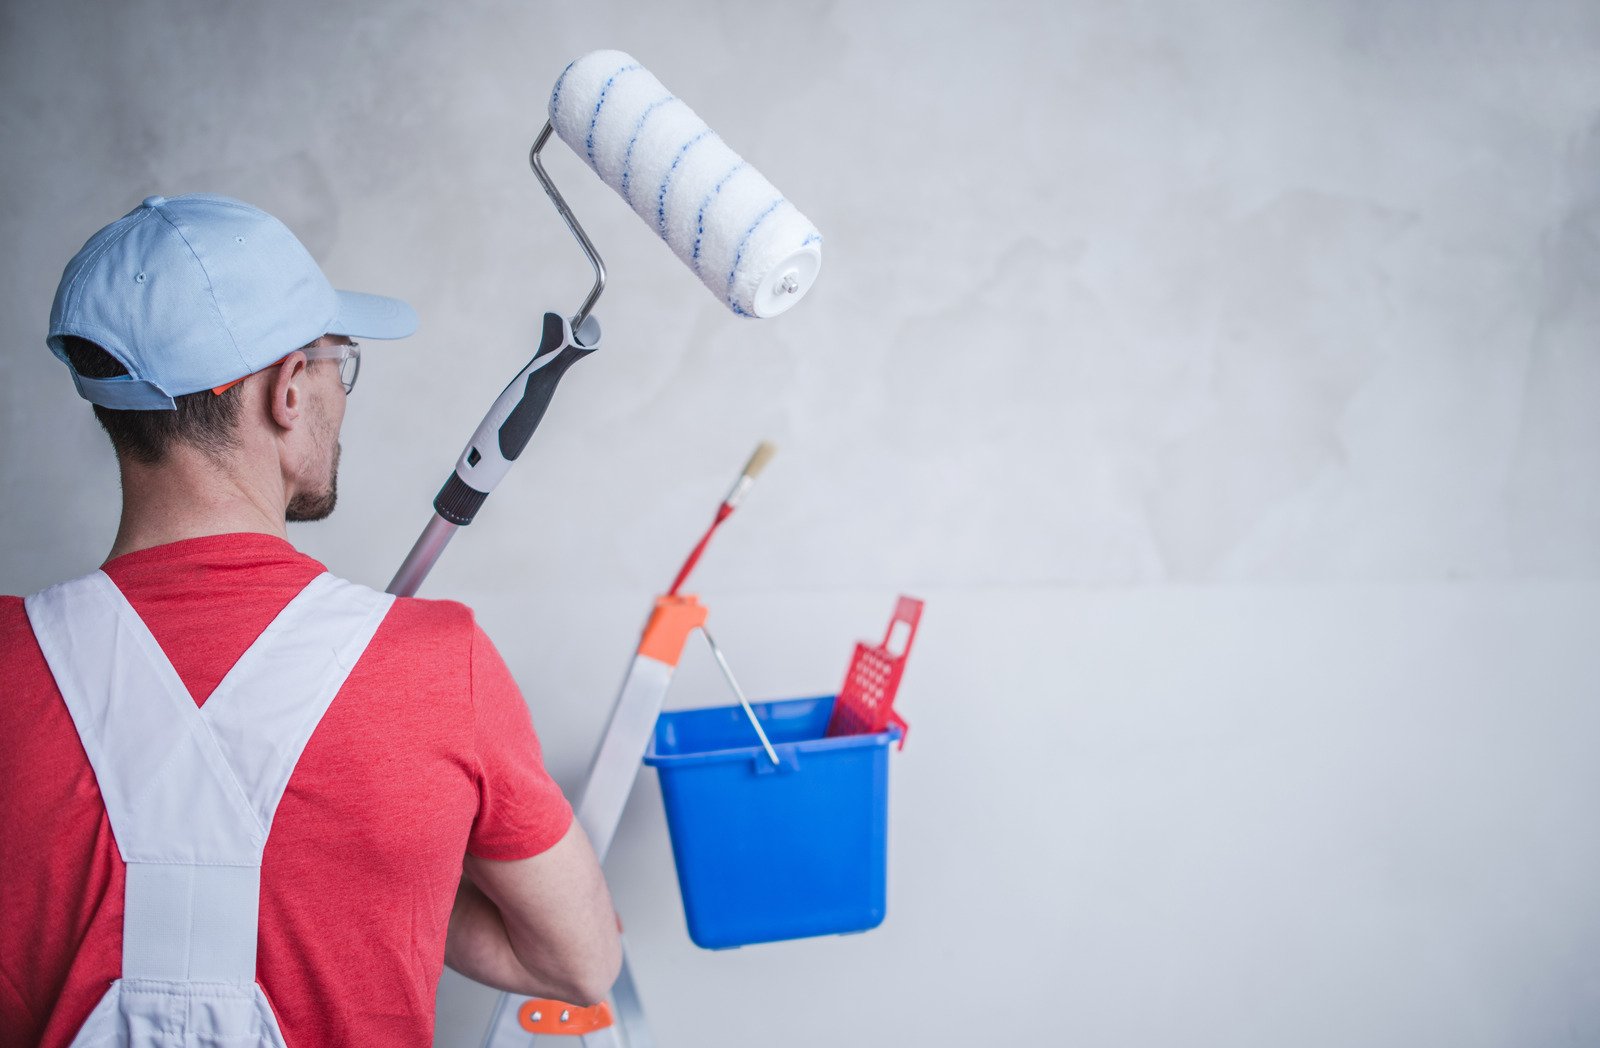
- The Mistake: Some choose low-cost paint and tools in an attempt to save money, believing they can get the same effects as high-quality materials. But cheap paint fades and chips more easily, needs more applications to get full coverage, and is generally less durable. Similarly, cheap brushes and rollers can be difficult to produce a smooth finish, cause streaks, and shed bristles.
- How to Avoid It: Purchasing high-quality paint and tools is one way to prevent it. Paint of superior quality has superior color retention, durability, and coverage. To choose the ideal product for your needs, look for reliable brands and study reviews. Invest in high-quality rollers and brushes that are made for the paint kind you are using when it comes to tools.
Choosing the Wrong Paint Finish
- The Mistake: Selecting the wrong paint finish is another common error. ven though color is frequently the major attraction, paint finish, or sheen, can have a big impact on how your painted walls turn out and how long they last. For instance, a flat finish might be selected because of its gentle appearance, but because of its low durability and cleaning challenges, it isn’t the best choice for high-traffic areas.
- How to Avoid It: Recognize the various paint finishes and their ideal application locations. Here is a brief how-to:
- Matte or flat surfaces work well in low-traffic areas like bedrooms or ceilings. It is more difficult to clean, yet it conceals flaws nicely.
- Eggshell paint is more resilient than flat paint and has a subtle shine. Both dining rooms and living rooms can use it.
- Satin is perfect for kitchens, baths, and hallways, satin is versatile and easy to clean.
- Semi-Gloss is extremely resilient to moisture, ideal for doors, trim, and humid environments.
Overloading the Brush or Roller
- The Mistake: Applying too much paint at once by overloading the brush or roller is a frequent mistake. This can lead to drips, uneven coverage, and a longer drying time. It also makes it harder to achieve a smooth, professional-looking finish.
- How to Avoid It: When loading your brush or roller, aim for a moderate amount of paint. For brushes, dip only one-third of the bristles into the paint and tap off any excess on the side of the can—don’t wipe the brush on the rim, as this can cause splatters. For rollers, use a roller tray and roll back and forth until the roller is evenly coated without dripping.
Not Allowing Adequate Drying Time
- The Mistake: Rushing to apply additional coats or moving furniture back into the room before the paint has fully dried can ruin the finish and lead to smudges or damage.
- How to Avoid It: Patience is key. Follow the manufacturer’s recommended drying times between coats and before using the room. Generally, latex paint can take up to two weeks to fully cure, while oil-based paints can take even longer. Allow ample time for the paint to dry to the touch before applying another coat, and wait at least 24 hours before moving furniture back into place.
Conclusion
Your room can be completely transformed by interior painting, but a successful project depends on avoiding some typical blunders. You may obtain a polished finish that you’ll be happy with for years to come by taking the time to properly prepare, utilizing the right materials, and exercising patience during the process. But for the best finish you should hire the professionals from Drywall Medic, here are the contact details of the experts: Their skilled team understands the importance of selecting the best paint options for kitchens, ensuring durability and a flawless look even in high-moisture areas. With their extensive experience and attention to detail, they can guide you in choosing colors and finishes that enhance your space. Trust Drywall Medic to handle the job efficiently and bring your vision to life with exceptional results.
- Victoria, BC: #136 – 2936 Amy Rd, Victoria, BC, V9B 0B2, Contact Number- 250-880-8849,
- Vancouver, BC: 6894 192 St, Surrey, BC V4N 0B7, Contact Number- 604-913-4656