This article examines five common texture repair mistakes and provides tips on how to prevent them. It emphasizes the necessity of precision and the ability to attain a faultless finish in home or business settings. These errors might produce ugly effects, extend the process, or inflict more damage.
Not Properly Preparing the Surface
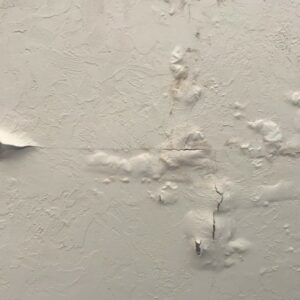
The most common mistake in texture repair is failing to adequately prepare the surface before adding texture. Proper preparation is critical for adhesion and a smooth finish, and skipping or poor preparation can result in uneven texture.
-
Mistake:
Several issues can impede the repair process, including failure to clean the wall, remove existing textures or debris, and smooth damaged areas before applying the new texture.
-
Solution:
Before applying texture, wipe the wall well to remove any contaminants. If working on repaired areas, make sure the residual joint compound or drywall mud is smooth and level. Sand the area as needed. If the damaged parts have a peeling texture, remove as much of it as possible to leave a clean, solid surface for the fresh application.
Using the Wrong Texture or Technique
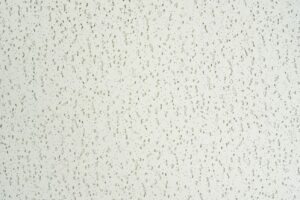
Each wall texture has a distinct application procedure and tools required. Misapplication can provide mismatched or inconsistent results, such as utilizing knockdown texture with a roller or popcorn texture in flat sections, making repairs difficult.
-
Mistake:
Mistakes include using a texture or technique that does not match the original look, using incorrect tools, or over-applying texture, resulting in an overly thick finish that is difficult to work with.
-
Solution:
To apply joint compound to walls or ceilings, choose a texture that matches the surrounding walls or ceiling. Use appropriate tools and follow application instructions for best results. Use the correct consistency of joint compound to avoid overly thick or uneven application. Practice applying the texture on a scrap piece of drywall before working on the actual repair area.
Inconsistent Application of Texture
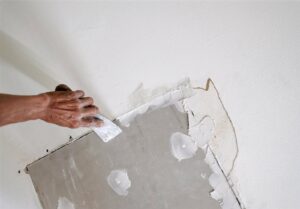
An irregular texture application might result in a wall or ceiling that seems patchy, uneven, or mismatched to the rest of the surface. This is a prevalent problem when the texture is applied in uneven layers, resulting in patchy or inconsistent patterns.
-
Mistake:
Mistakes in texture application include blotchy or uneven layers, improperly blended texture around corners or edges, and applying texture too rapidly, leading to inadequate control.
-
Solution:
Apply texture to a surface with a spray gun, trowel, or brush, beginning with a small piece and working carefully to achieve an even coat. Maintain a consistent distance and pace with spray guns, and utilize even strokes with trowels or brushes. If required, apply additional coats, allowing each to dry before applying the next.
Neglecting Drying and Curing Times
A lack of enough drying and curing time between coatings or layers is a key problem in texture restorations, as joint compound and texture require time to set before moving to future procedures such as sanding or painting, resulting in cracking or flaws.
-
Mistake:
Mistakes include sanding or painting texture before it has fully dried, not allowing sufficient drying time between layers, and applying a top coat too soon, causing smudge or peeling.
-
Solution:
Allow each texture coat to thoroughly dry before proceeding. The drying time can vary depending on the product, humidity, and temperature. It is recommended to wait at least 24 hours between layers. After curing, use fine-grit sandpaper to remove any rough places or extra texture before painting or finishing.
Improper Use of Primer and Paint
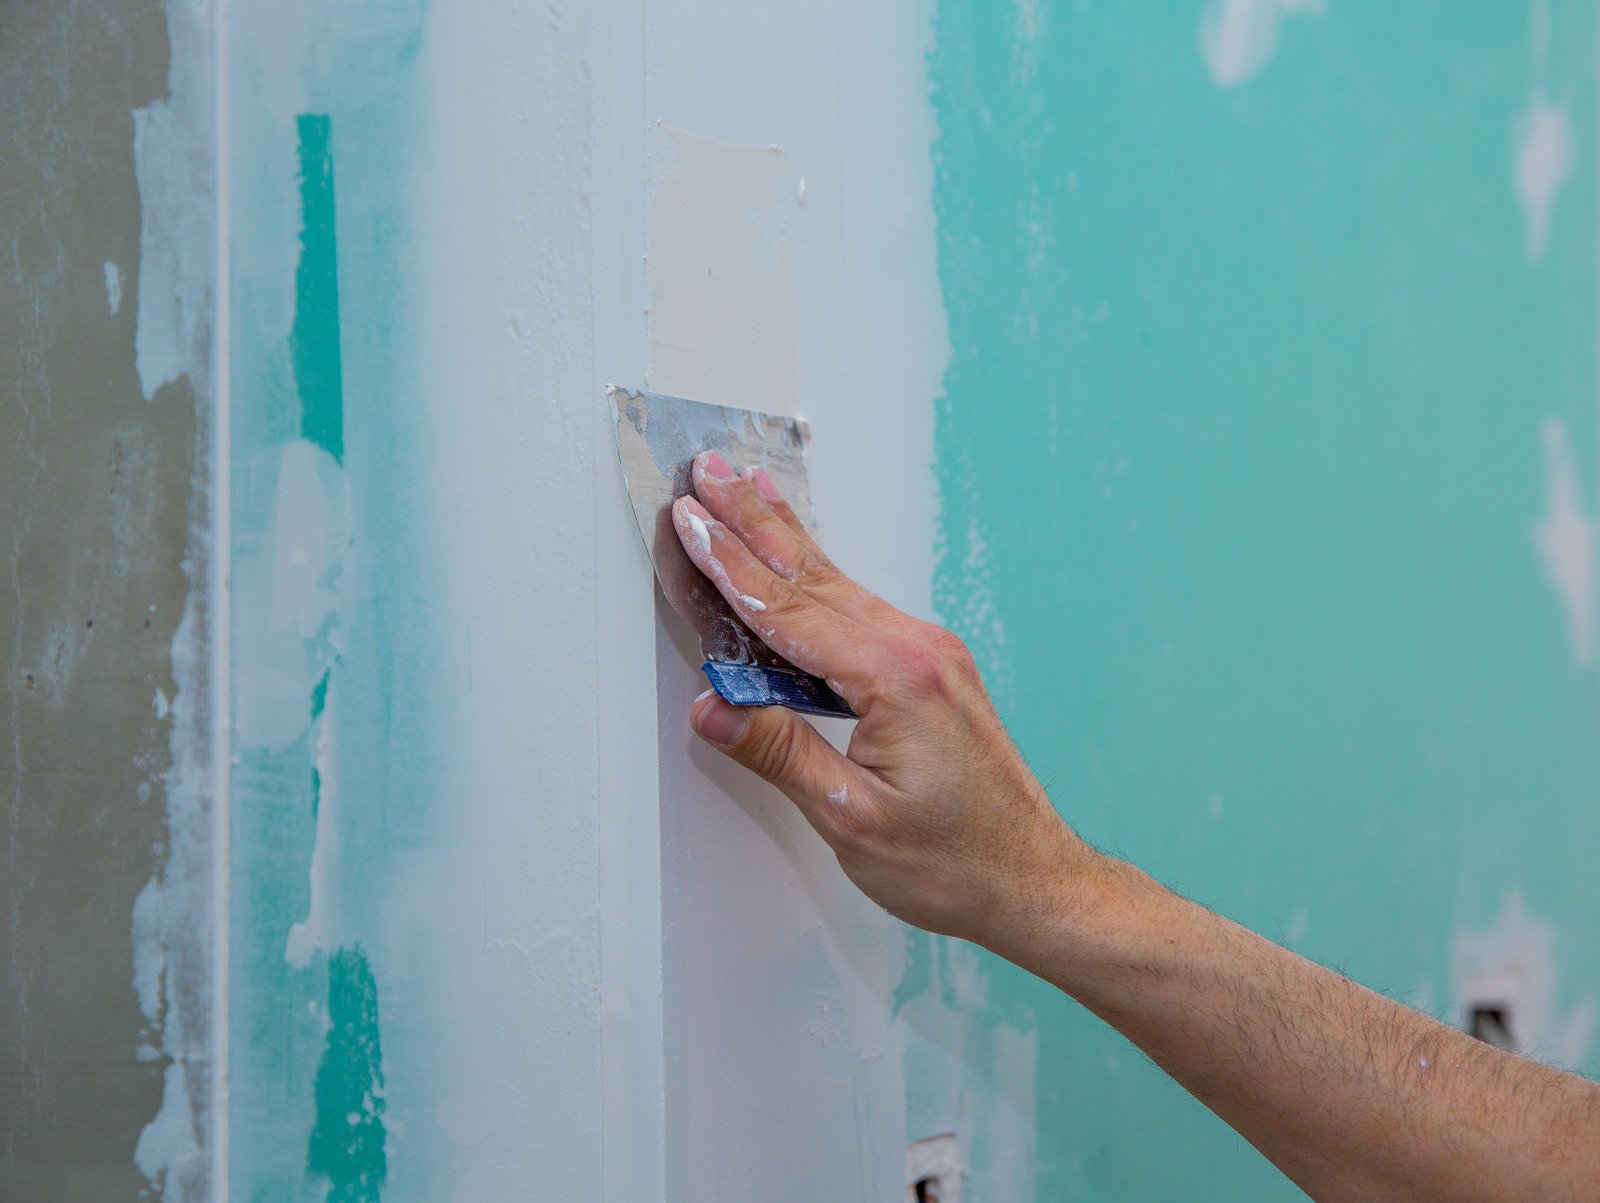
The final step after completing texture correction is to prime and paint. However, many people forget these processes or apply the wrong materials, preventing a smooth, professional appearance. Proper priming and painting are critical to the aesthetics and durability of the restoration.
-
Mistake:
Mistakes include skipping primer, using incorrect primer, using low-quality paint, and painting texture before it is fully dry or cured.
-
Solution:
After drying and sanding, apply a high-quality primer to the textured surfaces. This seals the roughness and provides a homogeneous surface for painting. For textured walls, use paint with a flat or matte finish, rather than glossy or semi-gloss. Allow the primer and paint to completely dry before applying additional coats for maximum protection and a finished look.
Conclusion
Drywall Medic understands the challenges of texture repair and the frustration caused by common mistakes like improper surface preparation, inconsistent application, and wrong materials. By avoiding these pitfalls, smooth, uniform texture repairs can be achieved, enhancing the home’s aesthetics. If you find yourself facing difficulties or unsure about the process, our team of professionals is here to guide you through every step, ensuring high-quality results and long-lasting satisfaction. Here are the details of Drywall Medic for your convenience.
- Victoria, BC: #136 – 2936 Amy Rd, Victoria, BC, V9B 0B2, Contact Number- 250-880-8849,
- Vancouver, BC: 6894 192 St, Surrey, BC V4N 0B7, Contact Number- 604-913-4656