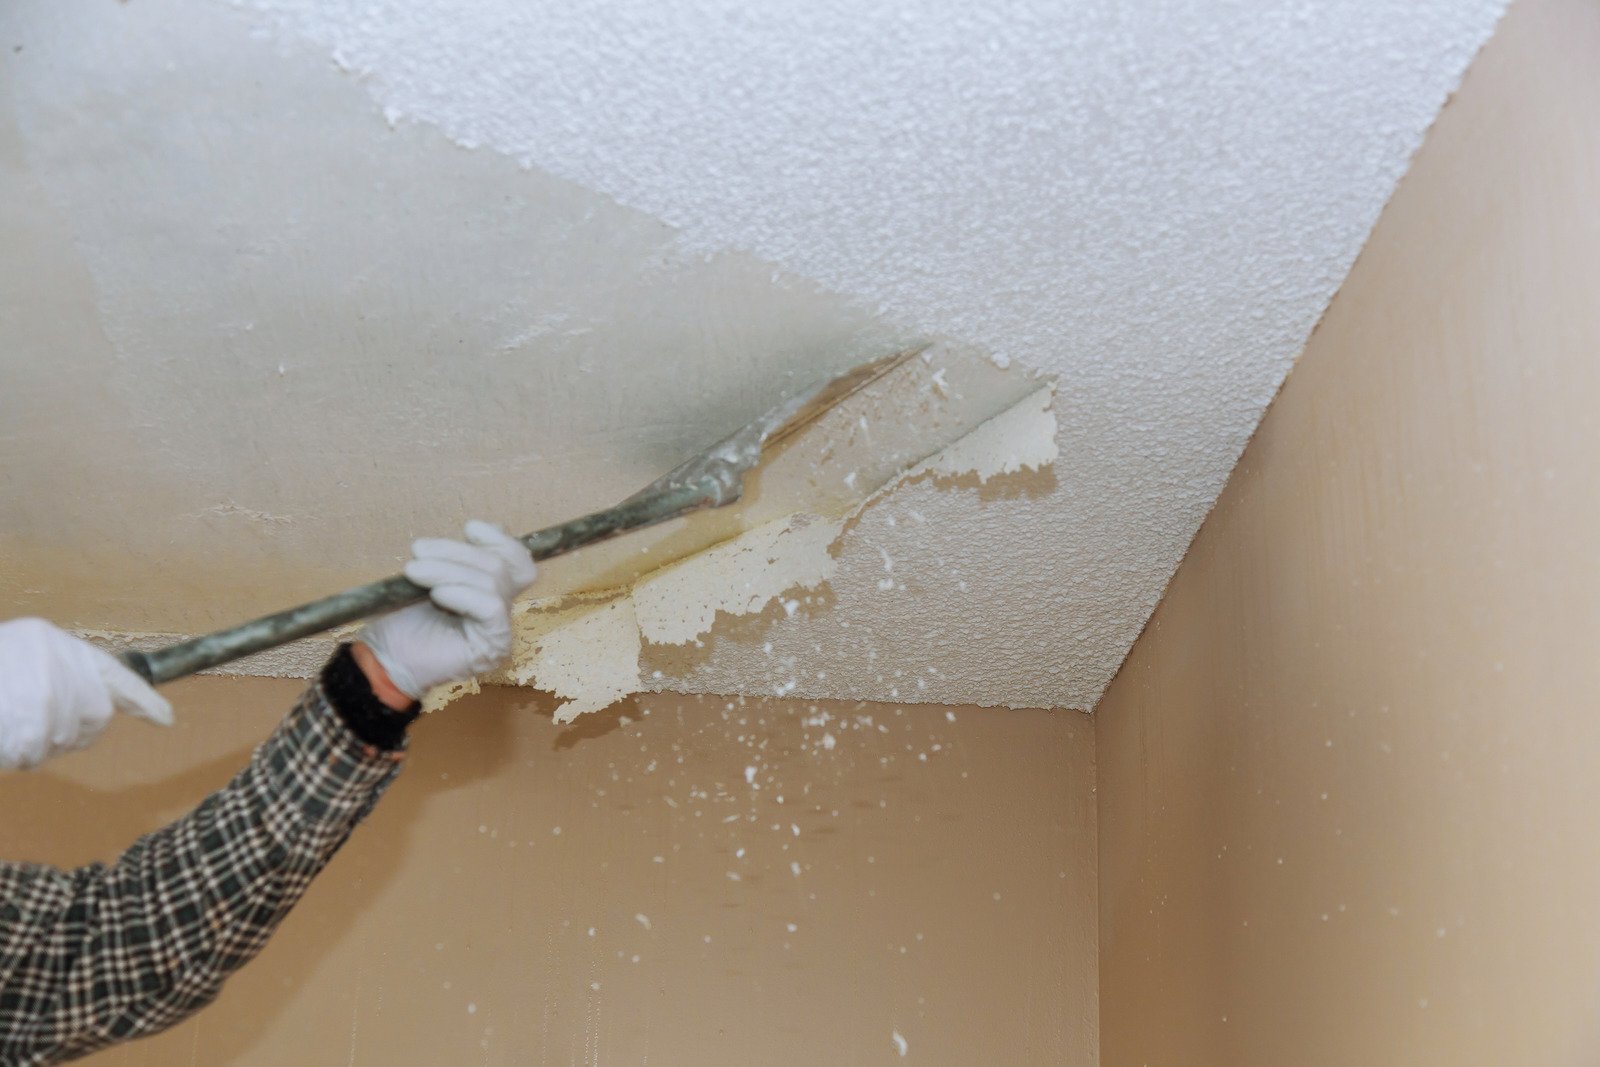
Removing popcorn ceilings can modernize your home but often leads to damaged drywall. These imperfections can diminish the ceiling’s aesthetic appeal, ranging from minor nicks to exposed drywall paper or large holes. Restoring damaged drywall can be challenging, but with proper equipment, methods, and patience, it can be achieved. This restoration technique restores your ceiling to its original state, allowing you to paint or texturize it.
-
Understanding the Damage
Successful restorations depend on knowing how damaged the drywall is following the removal of the popcorn ceiling. Some of the most common problems include gouges, scratches, or dents, which might be the consequence of removal that is too harsh or ceilings that have been weakened. Recognizing the extent of the damage helps identify the best restoration procedures, such as patching minor flaws, sealing exposed paper, or replacing drywall sections. Proper assessment provides a smooth, long-lasting finish.
-
Tools and Materials Needed
Here’s a list of essential tools and materials:
- Safety goggles and mask
- Drop cloths or plastic sheeting
- Drywall joint compound (premixed or powder)
- Drywall patching tape
- Sanding tools (hand sander or pole sander)
- Sandpaper (medium and fine-grit)
- Drywall knife (4″, 6″, and 12″)
- Primer and ceiling paint
- Roller and paintbrush
- Spray texture or roller texture (optional)
-
Preparing the Room
To ensure a clean and efficient drywall repair process, remove furniture, cover floors with plastic sheeting, use drop cloths to protect floors, turn off HVAC systems, and cover vents and doorways with painter’s tape and plastic. Wear safety goggles, dust masks, and gloves, and thoroughly clean the ceiling with a broom or vacuum. Ensure a well-lit space for defect identification during repairs. A clean, well-prepared environment makes the drywalling process easier and more efficient.
-
Repairing Minor Damage
For small nicks and gouges, follow these steps:
- Clean the Area: Wipe the damaged spots with a damp cloth to remove dust and ensure better adhesion.
- Apply Joint Compound: Using a 6″ drywall knife, apply a thin layer of joint compound over the damaged areas. Feather the edges to blend with the surrounding surface.
- Let It Dry: Allow the compound to dry completely (4–24 hours, depending on the product).
- Sand Smooth: Use medium-grit sandpaper to smooth the repaired area, then switch to fine-grit sandpaper for a polished finish.
- Prime and Paint: Apply a primer, followed by ceiling paint, to blend the repair seamlessly.
-
Fixing Exposed Drywall Paper
Trim any loose or frayed drywall paper using a utility knife, then apply a drywall sealer or primer, cover the area with a joint compound, and let dry. Sand smooth, then reapply as necessary. Finish with primer and paint to create a polished, uniform ceiling surface. This technique ensures a smooth finish and prevents additional damage.
-
Repairing Moderate to Severe Damage
For larger holes or severely damaged drywall, use these methods:
-
Patching with Drywall Tape
To repair larger holes or severely damaged drywall, first clean the area, then use drywall tape, joint compound, and sand and recoat. Clean the area by eliminating debris and smoothing edges before applying joint compound with a 12-inch drywall knife. Sand the area smooth and add a second layer if necessary.
-
Replacing Drywall Sections
To replace damaged drywall sections, use a utility knife or drywall saw to cut out the damaged area, then measure and cut a patch to fit the hole. Secure the patch using drywall screws or adhesive, cover the seams with drywall tape and joint compound, and sand the area smoothly before priming and painting.
-
Recreating Texture
To recreate a ceiling’s textured finish, use a texture spray can for small areas, mix joint compound with water for a pancake-batter consistency, or hire a professional for intricate textures for a consistent look.
-
Priming and Painting
To complete a ceiling repair, use a high-quality primer to seal the repaired areas and create a consistent base for paint. Choose flat or matte ceiling paint to minimize imperfections. Apply two coats using a roller and brush for best results.
-
Tips for Success
To ensure proper repair, work in small sections, use a bright light to identify imperfections, and allow sufficient drying time between each step to prevent peeling or cracking.
-
When to Call a Professional
While many drywall repairs can be tackled as a DIY project, consider hiring professionals from Drywall Medic if:
- The damage is extensive or structural.
- You’re not confident in your ability to match textures.
- Time constraints make DIY impractical.
Conclusion
Drywall Medic provides specialized services for restoring damaged drywall following popcorn ceiling removal. They utilize skilled techniques, examine the damage, and ensure a smooth finish for a polished appearance. They can address tiny imperfections or significant repairs, offering step-by-step instructions for long-lasting results. Their skilled crew is available to handle difficult challenges and precise texture matching, guaranteeing that your property has a finished look. Here are the contact details of them:
- Victoria, BC: #136 – 2936 Amy Rd, Victoria, BC, V9B 0B2, Contact Number- 250-880-8849,
- Vancouver, BC: 6894 192 St, Surrey, BC V4N 0B7, Contact Number- 604-913-4656


