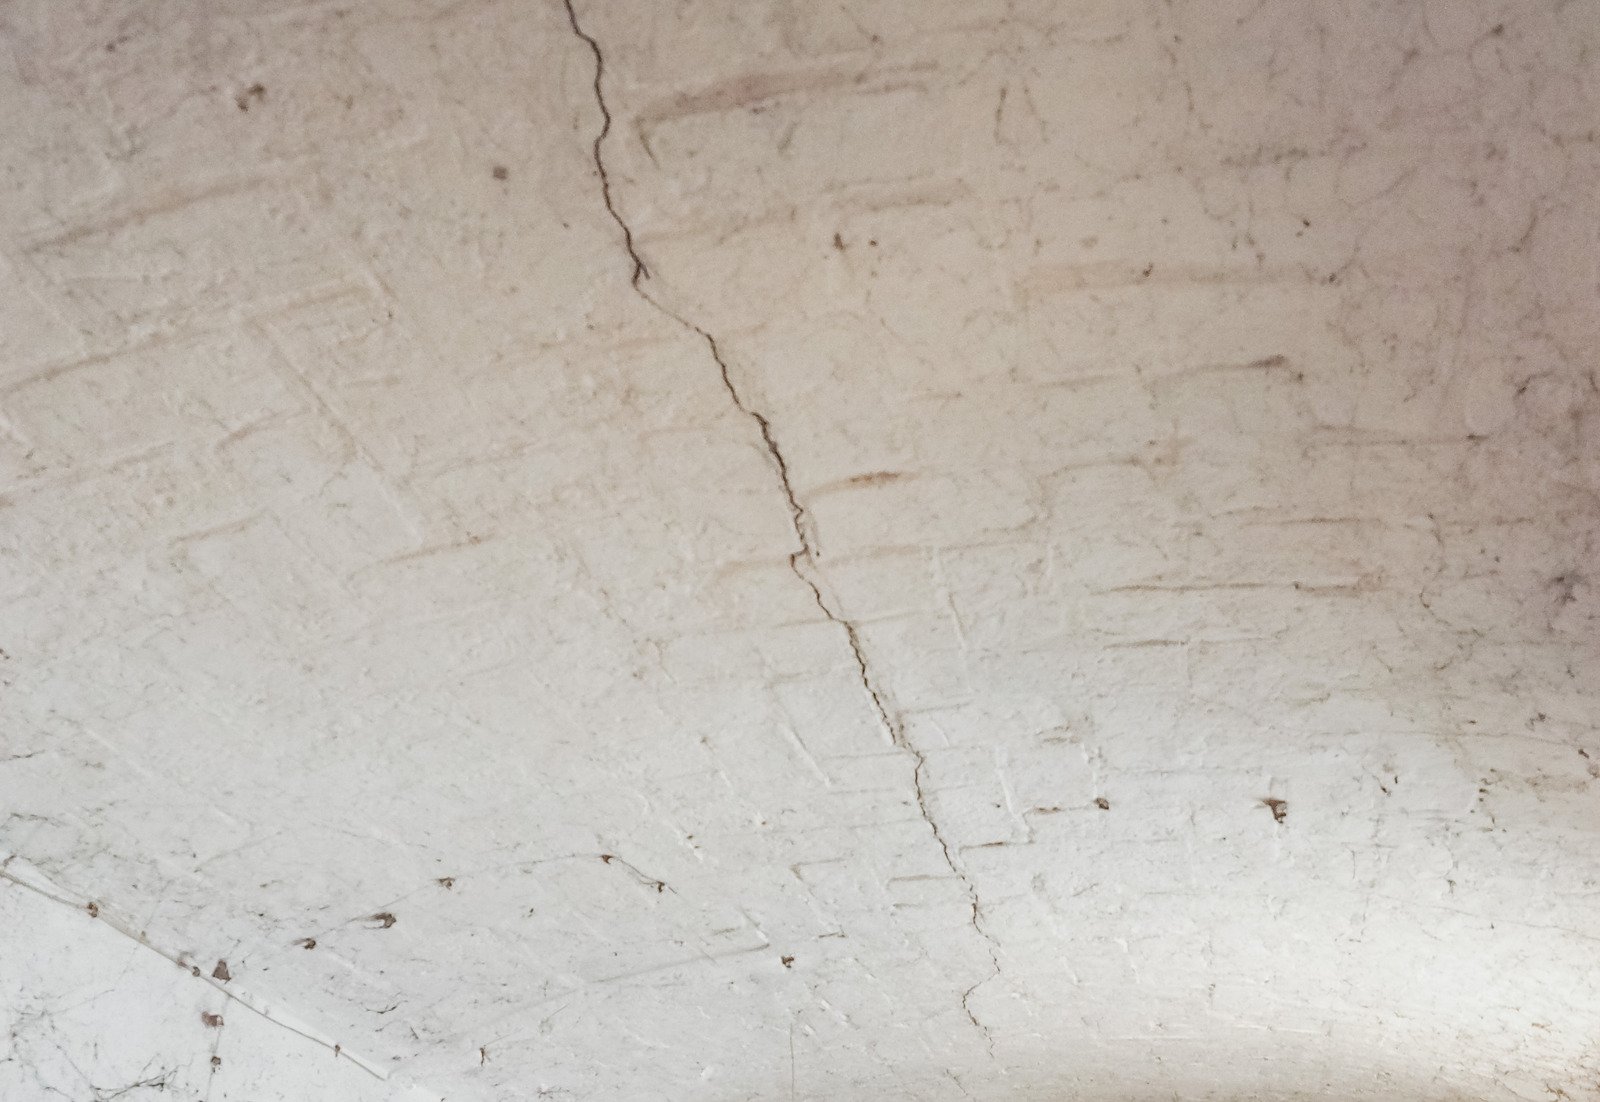
Popcorn ceilings can develop cracks over time due to wear and tear, structural settling, or moisture damage. While these cracks can be unsightly, they are often easy to repair if you follow the correct steps. In this guide, we will walk you through a step-by-step process to repair cracks in popcorn ceilings and restore them to their original condition.
Evaluate the Crack
Identifying the extent and source of the damage is the first step in fixing a crack in your popcorn ceiling. While larger or more severe cracks may indicate structural difficulties, smaller, hairline cracks are frequently fixed with little effort. Furthermore, cracks caused by moisture may indicate a leak that needs to be fixed before continuing with the repair.
- Small Cracks: These can be readily fixed and are typically the result of the house settling naturally.
- Large Cracks: These could be caused by extreme wear, moisture issues, or structural alterations. Prior to treating a break with major water damage, it’s critical to address the underlying problem (such as a leaky roof).\
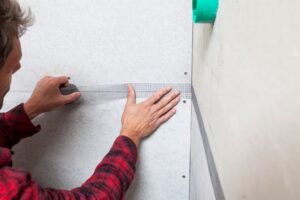
Get the Space Ready
Prepare the area and shield yourself from dust and debris before beginning the repair.
- Cover the Floors and Furniture: To shield the floors and furniture from dust, paint, and fallen texture, use drop cloths or plastic sheeting on them.
- Use Safety Gear: If your popcorn ceiling was installed before the mid-1980s, wear a dust mask and safety goggles to protect yourself from asbestos and dust.
- Ventilation: Make sure the space has adequate ventilation, particularly if you’re using joint compound, paint, or texturizing spray.
Soften the Popcorn Texture
Popcorn ceilings are notoriously messy to work with. To avoid creating more cracks or damaging the surrounding texture, you’ll need to soften the ceiling’s popcorn texture around the crack.
- Lightly Mist the Area with Water: Use a spray bottle to lightly mist the popcorn texture around the crack. Be careful not to saturate the area, as too much water can damage the drywall underneath. Let the water soak in for a few minutes to soften the texture.
- Scrape Off Loose Texture: Use a putty knife or scraper to gently remove any loose or damaged popcorn texture around the crack. Avoid scraping too aggressively, as you only want to remove the damaged area and not create new problems.
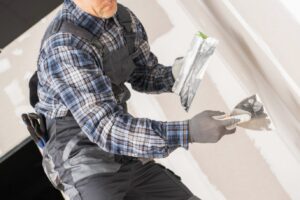
Repair the Crack
You are now prepared to fix the actual ceiling crack after preparing the region and removing any loose texture.
- Apply Joint Compound or Spackle: Straight into the crack, use a putty knife to apply a thin layer of joint compound or spackle. In order to achieve a flat, even surface, smooth it out until it completely covers the fissure. To make the compound fit in perfectly with the surrounding ceiling, make sure to feather the edges.
- Let It Dry: As recommended by the manufacturer, let the joint compound completely dry. Normally, this takes a whole day, but it can take longer based on the product and the state of the room.
- Sand the Area Smooth: After the compound has dried, lightly sand the area smooth with fine-grit sandpaper.
Reapply the Popcorn Texture
After repairing the crack and smoothing the surface, you’ll need to reapply the popcorn texture to match the rest of the ceiling. To achieve a seamless look, use a spray texture or a stippling brush to carefully blend the new texture with the existing one. Make sure to let it dry completely before painting over it to ensure uniformity in color and finish. Properly addressing popcorn ceiling repair signs not only restores the ceiling’s appearance but also prevents further deterioration over time.
- Use a Popcorn Ceiling Patch Kit or Spray Texture: You can buy popcorn ceiling patch kits or texture sprays at most hardware stores. These products are designed to replicate the texture of popcorn ceilings and are easy to use.
- Test the Spray: Before applying the texture to the ceiling, test the spray on a piece of cardboard or another surface to ensure it matches the texture of your ceiling.
- Apply the Texture: Hold the spray can or applicator about 12 to 18 inches away from the ceiling and apply the texture in light, even coats. Be sure to blend the new texture into the surrounding area to avoid noticeable lines or patches.
- Let the Texture Dry: Allow the newly applied texture to dry completely before moving on to the next step.
Prime and Paint the Ceiling
Once the popcorn texture has dried, it’s time to prime and paint the ceiling to match the existing finish.
- Prime the Repaired Area: Apply a coat of primer to the repaired section of the ceiling to ensure that the paint adheres properly. Use a brush or roller to apply the primer evenly over the patched area and surrounding texture.
- Paint the Ceiling: After the primer has dried, paint the ceiling using a roller or brush. Be sure to use a flat or matte finish ceiling paint that matches the rest of the ceiling. For best results, feather the paint out beyond the edges of the repair to blend it seamlessly with the surrounding area.
Conclusion
While you may have the most beautiful home with cedar wood fencing and perfectly manicured lawns with professional hardscaping patios, having an interior popcorn ceiling that looks old and ratty can be very embarrassing. Repairing cracks in popcorn ceilings may seem challenging, but by following this step-by-step guide, you can restore your ceiling to its original state without too much hassle. You can also hire professionals from Drywall Medic for more help, here are their contact details:
- Victoria, BC: #136 – 2936 Amy Rd, Victoria, BC, V9B 0B2, Contact Number- 250-880-8849,
- Vancouver, BC: 6894 192 St, Surrey, BC V4N 0B7, Contact Number- 604-913-4656