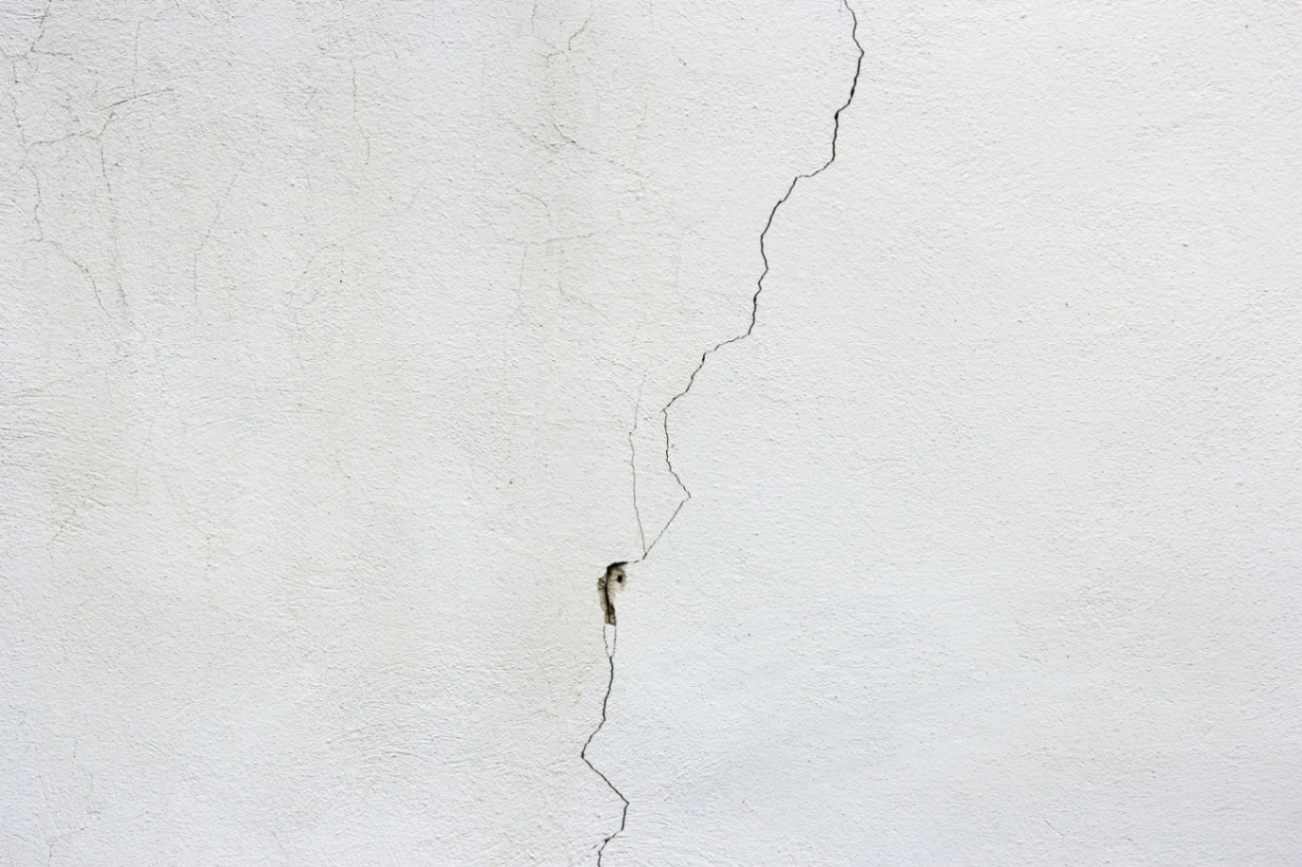
Although textured walls give your house personality, depth, and flair, they can be unsightly when they break. It takes expertise and attention to detail to fix these flaws without sacrificing the original design. Our specialty at Drywall Medic is flawless wall repairs that maintain the surface’s beauty and texture. We will outline a methodical process in this article for fixing textured wall cracks without compromising the aesthetics.
Why Do Cracks Appear in Textured Walls?
A number of things, including vibrations, temperature and humidity fluctuations, foundation movement, and shoddy installation, can cause cracks in textured walls. Walls are stressed by foundation movement, while fissures are produced by variations in humidity and temperature.
Over time, poor texture application or drywall taping can erode the wall. Textured walls can be returned to their previous state with the right repair methods without affecting style.
Tools and Materials You Will Need
Before starting, gather the following materials:
- Drywall joint compound or patching compound
- Drywall tape (mesh or paper)
- Putty knives (2-inch, 6-inch, and 10-inch)
- Sanding sponge or fine-grit sandpaper (120–150 grit)
- Texturing tools (sponges, brushes, or a texture sprayer)
- Primer and paint
- Drop cloths and painter’s tape
- Safety gear (dust mask, goggles)
Step-by-Step Guide to Fixing Cracks
-
Assess the Damage
To repair a drywall crack, examine the crack and its texture, determining if it is superficial or deeper. Hairline cracks may require patching compound, while deeper cracks may require drywall tape reinforcement. Use a flashlight to highlight imperfections and cracks that may not be visible otherwise.
-
Prepare the Area
First, clear the room from any dressers, couches or custom made wood epoxy tables to prevent from damage. Throw a blanket or a sheet of plastic overtop all furniture to help collect any dust or debris that may occur during the prep of the area.
Once the room is ready, start cleaning the crack by eliminating stray dirt and flaking paint to guarantee a neat and expert restoration. To improve compound adherence, use a utility knife to slightly expand deeper cracks. Use tape and drop cloths to protect the surrounding areas. It may sound contradictory, but when compound is added, widening the split strengthens the binding.
-
Reinforce the Crack with Drywall Tape
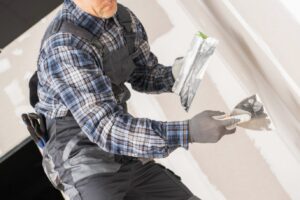
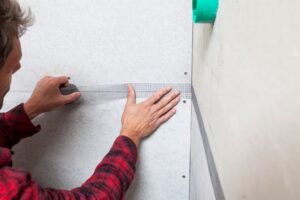
Use a 2-inch putty knife to apply joint compound, then push drywall tape into the wet compound and smooth it over the tape with another thin layer of compound to fix fractures wider than hairline. While paper tape produces a smoother finish but is more difficult to apply, mesh tape is simpler for novices.
-
Apply Joint Compound
After installing tape, spread joint compound over the crack and surrounding area, blending the patch with the wall. Allow the compound to dry completely, typically 24 hours. Sand the surface lightly with fine-grit sandpaper or a sanding sponge. Drywall Medic advises not to rush the drying process, as applying a second layer too soon can cause uneven results.
-
Recreate the Texture
Determine the texture of your wall and select the appropriate tool to guarantee that the restoration reflects the original wall design. Before you apply the texture to the wall, practice on a piece of cardboard or leftover drywall. Mix the texture with the surrounding wall over the mended region. After the compound has partially set, a gentle pass with a drywall knife is necessary for knockdown textures. Build up the compound progressively to fit the original design, starting with less.
-
Prime and Paint
After removing the texture, apply primer to the repaired area to ensure even paint absorption and prevent flashing. Paint the section with a matching wall color, avoiding noticeable differences. For best results, use a high-quality paint with the same finish as the original wall, such as matte, eggshell, or semi-gloss.
Common Mistakes to Avoid
Avoid overdoing texture compound, painting without primer, and skipping tape for wider cracks to ensure a successful repair. Before proceeding to the following step, let each layer completely dry because skipping tape might eventually lead to cracks resurfacing. Steer clear of unprimed repairs and overloading.
Conclusion
Your home’s appearance does not have to be ruined by cracks in textured walls. You can fix the damage and maintain the original beauty of your wall with the correct equipment, methods, and a little perseverance. You may do a seamless repair that flawlessly complements the surrounding texture.
Drywall Medic can help if you want professional-quality results or are unsure about doing the repair yourself. Let us bring your walls back to their former splendor by getting in touch with Drywall Medic immediately to arrange a consultation or for professional assistance. Here is the contact details:
- Victoria, BC: #136 – 2936 Amy Rd, Victoria, BC, V9B 0B2, Contact Number- 250-880-8849,
- Vancouver, BC: 6894 192 St, Surrey, BC V4N 0B7, Contact Number- 604-913-4656


