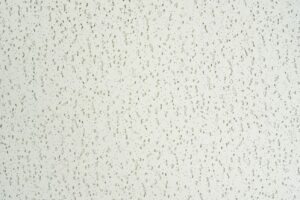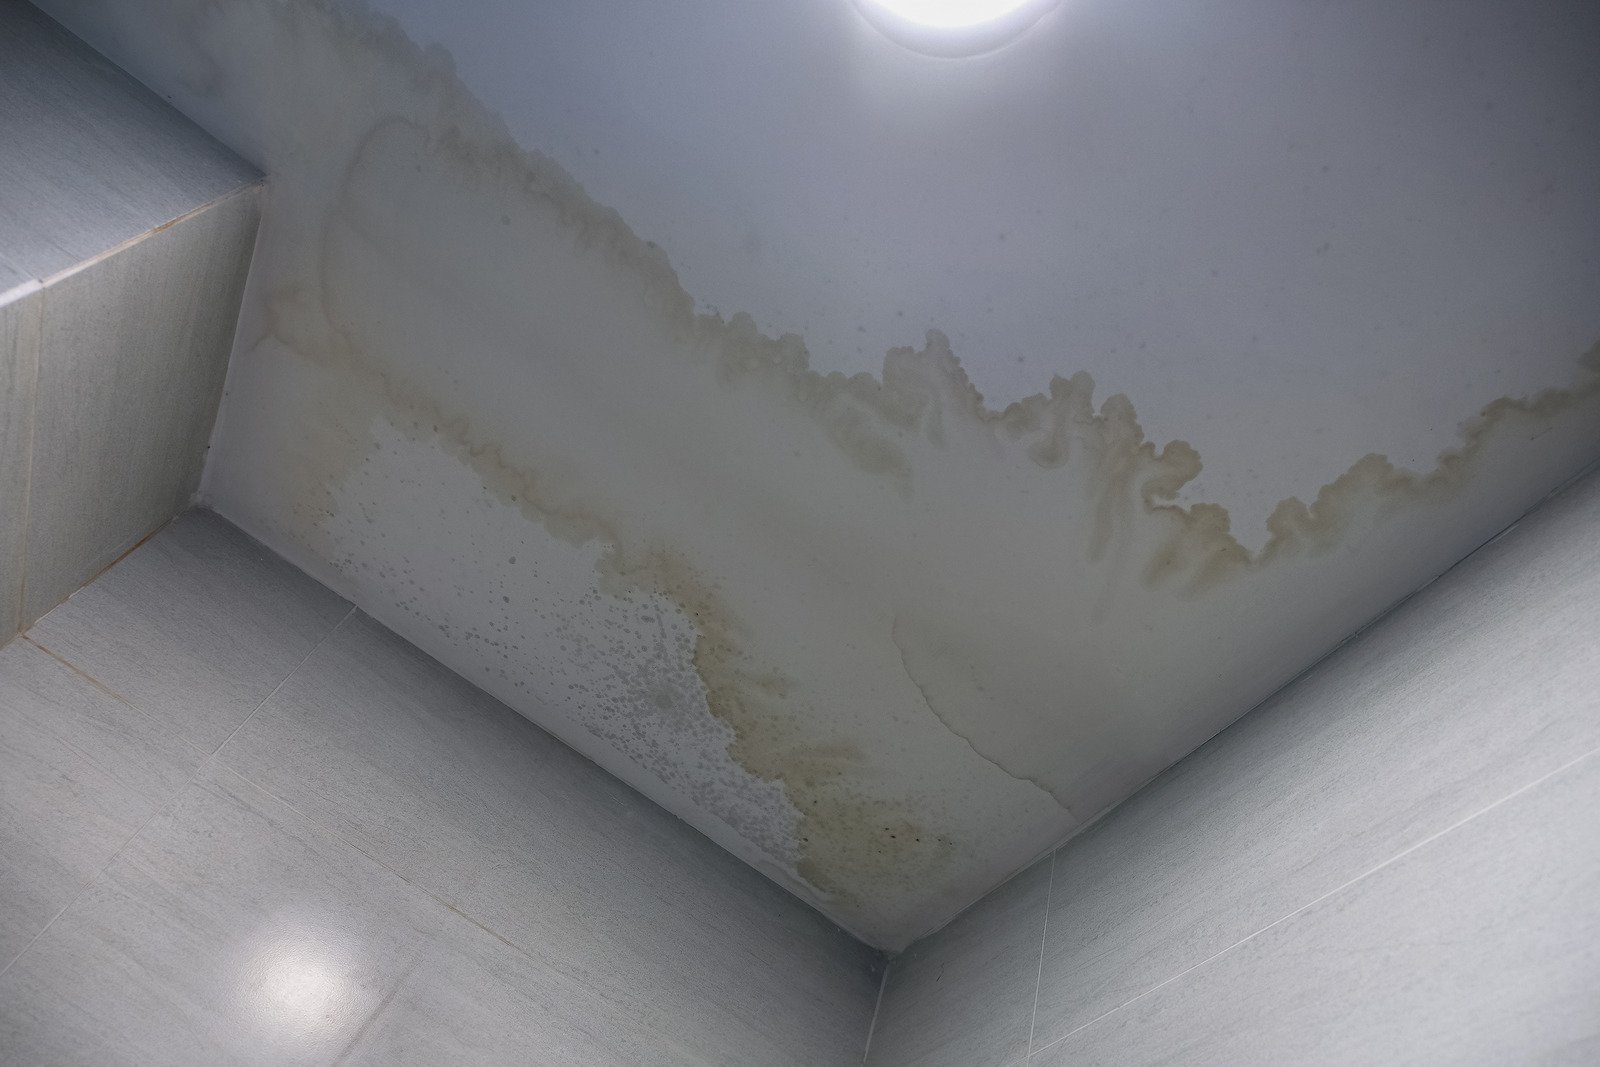
From the 1950s to the 1980s, popcorn ceilings—also referred to as acoustic or textured ceilings—were a common architectural alternative because of their capacity to conceal flaws and reduce noise. But maintaining and cleaning them may be challenging, particularly if water stains start to show. Water stains can reveal hidden problems like leaks in addition to detracting from the aesthetics of your ceiling. This post will walk you through the safe and efficient removal of water stains from popcorn ceilings.
Understanding the Cause of Water Stains
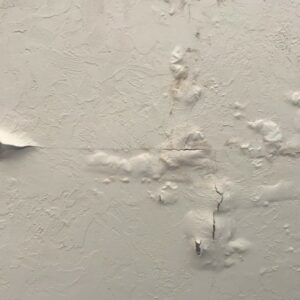
Finding and fixing the source of the moisture is essential before trying to remove water stains. Typical reasons why ceilings get stained with water include:
- Roof Leaks: Water can seep through the roof and into the ceiling due to damaged or missing shingles.
- Plumbing problems: Water stains can result from leaking fixtures or pipes in kitchens or bathrooms.
- Condensation: If there is insufficient ventilation in an area with high humidity, condensation may collect on the ceiling.
- Broken or worn-out shingles: Water intrusion may be possible through old or broken shingles.
Safety Precautions
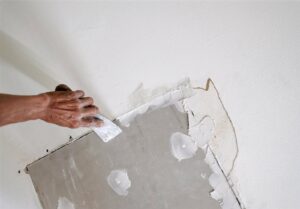
Popcorn ceilings installed before the 1980s may contain asbestos, a hazardous material. Get an asbestos test done on your ceiling by an expert from Drywall Medic before beginning any cleaning or repairs. Hire a licensed abatement specialist to remove asbestos. If asbestos is present, it’s crucial to avoid disturbing the surface, as this can release dangerous fibers into the air. Professional contractors are trained in safe popcorn ceiling removal techniques, ensuring the material is properly contained and your home is protected during the process. Taking these precautions not only safeguards your health but also helps maintain compliance with local safety regulations.
Materials Needed
In order to eliminate water stains from popcorn ceilings, the following supplies are required:
- Drop cloths or plastic sheeting
- Ladder or step stool
- Soft-bristled brush or broom
- Spray bottle
- Bleach solution (1 part bleach to 4 parts water)
- Water-based primer (stain-blocking)
- Water-based ceiling paint (color-matched to your ceiling)
- Painter’s tape
- Paint roller with an extension pole or a spray gun
Step-by-Step Guide to Removing Water Stains
-
Set Up the Space
To prevent any potential harm to your floors and furniture, start by prepping the space. To catch any drips or debris, place plastic sheeting or drop cloths down. To avoid unintentional paint splatters, wrap the wall edges where they meet the ceiling with painter’s tape.
-
Clean the Ceiling Surface
To get rid of any dust or loose debris, use a ladder or step stool to carefully brush the stained area with a soft-bristled brush or broom. Take care not to ruin the popcorn ceiling’s texture.
-
Apply a Bleach Solution
Fill a spray bottle with a bleach solution (1 part bleach to 4 parts water). Lightly mist the stained area with the solution, being careful not to oversaturate the ceiling. The bleach will help to kill any mold or mildew and lighten the stain. Allow the solution to sit for about 15 minutes, then blot the area with a clean, damp cloth. Repeat this process if necessary, but avoid over-wetting the ceiling to prevent further damage.
-
Permit the ceiling to dry
Let the ceiling air dry entirely after cleaning. The humidity levels in your home can determine how long this takes, ranging from a few hours to an entire day. To hasten the drying process, open the windows or use fans.
-
Use a primer that inhibits stains.
After the ceiling has dried, treat the affected area with a water-based stain-blocking primer. This will stop any leftover stain from transferring into the freshly painted area. For even application, use a paint roller with an extension pole; for bigger areas, use a spray gun. To prevent a conspicuous line, make sure the primer covers the entire stained area and blends in somewhat with the surrounding ceiling.
-
Paint the Ceiling
After the primer has dried (follow the manufacturer’s drying time recommendations), apply a water-based ceiling paint that matches the color of your existing popcorn ceiling. Use the same method as with the primer, either a roller or spray gun, to ensure even coverage. Apply a second coat if necessary to achieve a uniform finish.
When to Make a Professional Contact
It’s advisable to contact a specialist from Drywall Medic if you come into any of the following circumstances:
- Asbestos Risk: Avoid trying to clean or fix your ceiling on your own if you think it may contain asbestos. Engage a licensed asbestos removal specialist.
- Extensive Damage: Get in touch with a qualified contractor if there is significant water damage or if there are structural problems, such drooping or big cracks.
- Persistent Leaks: Consult a plumber or roofing expert for assistance if you are unable to locate or terminate the source of the water leak.
Tips for Maintaining Popcorn Ceilings
- Regular Dusting: Keep your popcorn ceiling free from dust by gently brushing it with a soft-bristled broom or vacuuming it with a brush attachment.
- Immediate Leak Repair: Address any roof or plumbing leaks promptly to prevent water damage and stains.
- Humidity Control: Use dehumidifiers or exhaust fans in areas with high humidity, such as bathrooms and kitchens, to reduce condensation.
- Routine Inspections: Regularly inspect your ceiling for signs of damage or stains to catch issues early and prevent further damage.
Conclusion
Removing water stains from popcorn ceilings can be a straightforward task if approached correctly. By following the steps outlined in this guide, you can restore the appearance of your ceiling and ensure the longevity of your home. Remember to address the source of the moisture to prevent future stains, and always prioritize safety, especially if there is a potential asbestos risk. With the right tools and techniques, your popcorn ceiling can look as good as new, maintaining the charm and character of your home. For this you can hire professionals from Drywall Medic. Here are their contact details:
- Victoria, BC: #136 – 2936 Amy Rd, Victoria, BC, V9B 0B2, Contact Number- 250-880-8849,
- Vancouver, BC: 6894 192 St, Surrey, BC V4N 0B7, Contact Number- 604-913-4656