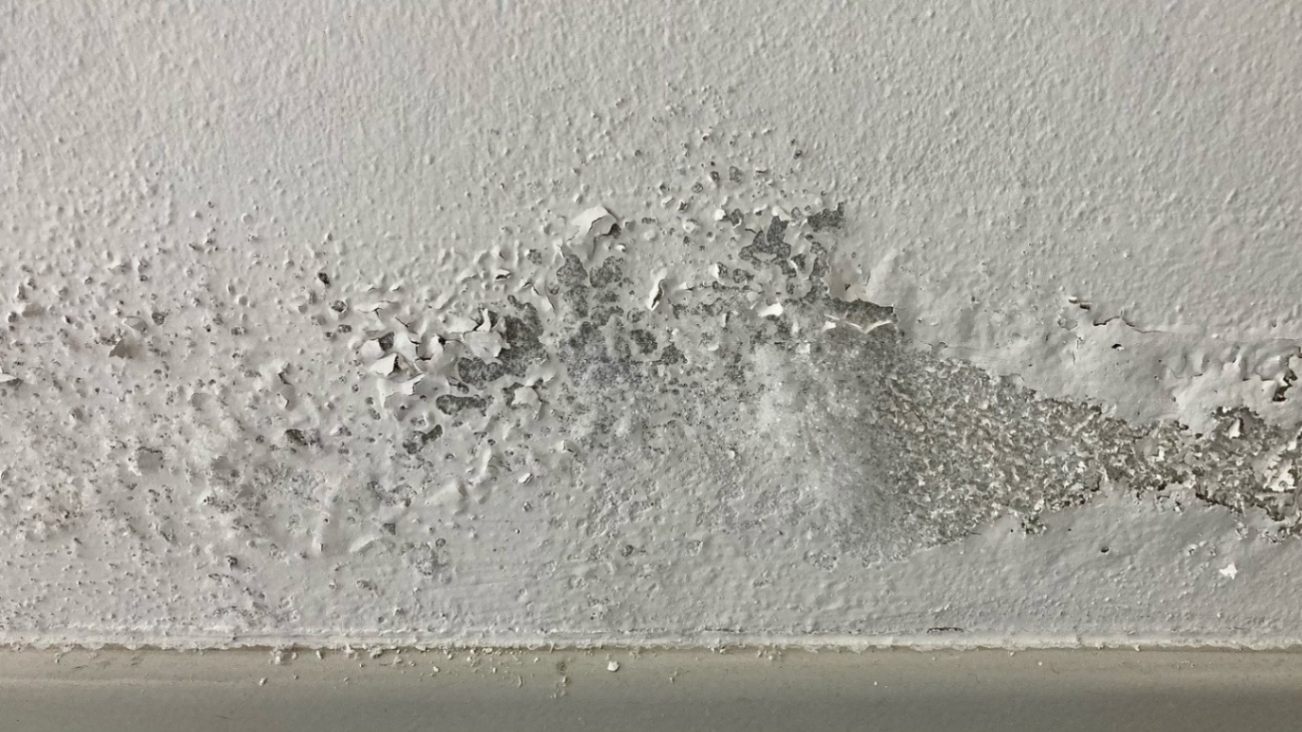
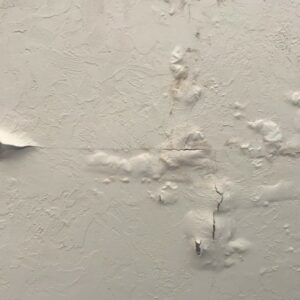
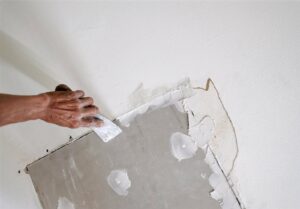
Popcorn ceiling removal can transform a home, but it often leaves a less-than-perfect surface with scratches, dents, and gouges in the drywall. Drywall Medic specializes in restoring ceilings to a smooth, professional finish. This guide will guide you through the steps to repair scratches and dents after popcorn ceiling removal, ensuring your ceiling is ready for priming and painting.
Why Scratches and Dents Happen During Popcorn Ceiling Removal
Popcorn ceiling material, often applied to drywall or primer, can cause surface gouges when scraped off without proper technique or tools. This can be due to excessive force, skipping the wetting process, working too quickly, or using improper tools. However, with the right approach, these surface imperfections can be repaired efficiently.
Tools and Materials You Will Need
Before beginning the repair process, gather the following tools and materials:
- Drywall Joint Compound (Premixed or Powdered): For filling scratches and dents.
- Drywall Tape: For repairing larger cracks or areas with structural damage.
- Putty Knives: In various sizes (2-inch, 6-inch, and 10-inch) for applying and smoothing compound.
- Sanding Tools: Sanding sponges or a pole sander with fine-grit sandpaper (120–150 grit).
- Primer: To seal the surface after repairs.
- Dust Mask and Safety Goggles: For protection during sanding.
- Drop Cloths and Plastic Sheeting: To protect floors and furniture.
- Vacuum with HEPA Filter: For cleanup.
Step-by-Step Process to Repair Scratches and Dents
-
Inspect the surface
Assess the damage by identifying minor scratches, shallow dents, deep gouges, and cracks in the seams. Identify all problem areas to prevent missed spots during the repair process, ensuring no spots are missed.
-
Prepare the Ceiling for Repairs
Use a damp sponge to wipe the ceiling, cover the area with drop cloths and plastic sheeting, and use plastic sheeting to seal vents and doorways to create a perfect ceiling finish. To improve joint compound adherence and stop dust from spreading, lightly sand the surface to smooth down any rough edges around dents or scratches.
-
Apply Joint Compound to Minor Scratches and Dents
To repair minor flaws, make a creamy joint compound, apply a tiny coating to each scrape or dent, and let it cure fully. Mix the chemical as directed by the manufacturer if it is powdered. The majority of premixed compounds require a full day to dry.
-
Repair Larger Gouges or Cracks
To repair deeper damage or structural issues, apply drywall tape over large gouges or cracks, using self-adhesive mesh or paper tape for convenience. Spread a thin layer of joint compound over the tape, then apply additional layers, increasing the width each time. Sand between layers using fine-grit sandpaper to smooth out bumps or ridges.
-
Final Sanding and Smoothing
After filling scratches, dents, and gouges, sand the ceiling surface using a sanding sponge or pole sander to ensure smoothness. Blend edges where compound meets drywall. Check for imperfections by running a hand or shining a light, apply additional compound if needed, and sand again.
-
Prime the Ceiling
Priming is essential for a consistent finish. Choose a high-quality drywall primer or stain-blocking primer to seal the surface and prevent uneven paint absorption. Apply evenly using a roller and extension pole, and let it dry completely before painting.
-
Paint for the Final Touch
Once your ceiling is ready, use matte or flat ceiling paint to create a polished appearance. At least two coats should be applied, with enough time for drying in between. To guarantee a smooth and polished appearance, check for irregularities after drying and touch up as necessary.
When To Call Professionals For The Work
Large cracks, sagging drywall, and ceiling damage can all be handled by the professional company Drywall Medic. They can save you time and guarantee a beautiful finish by restoring your ceiling to its former glory with their skill and equipment. Drywall Medic is the greatest option, even though many dents and scratches can be fixed with time and the appropriate equipment.
Conclusion
After removing a popcorn ceiling, fixing dents and scratches can seem difficult, but with the correct technique, the outcome can be seamless and competent. You can restore the look of your ceiling and lay the ideal foundation for a new coat of paint by carefully cleaning the surface, using high-quality materials, and following a methodical procedure.
Drywall Medic is available to assist if you are not confident you can do this project on your own or if you want results that are guaranteed. For professional guidance or to arrange a consultation, get in touch with Drywall Medic right now. Here are the contact details:
- Victoria, BC: #136 – 2936 Amy Rd, Victoria, BC, V9B 0B2, Contact Number- 250-880-8849,
- Vancouver, BC: 6894 192 St, Surrey, BC V4N 0B7, Contact Number- 604-913-4656


