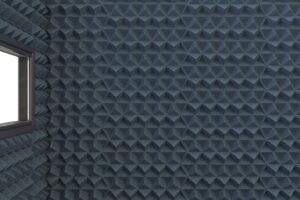
Popcorn ceilings, also known as acoustic or stipple ceilings, were a popular choice for homes built between the 1950s and 1980s due to their ability to hide imperfections and provide sound insulation. However, these ceilings can pose certain challenges when it comes to repairs, particularly if they contain asbestos. Ensuring safety during popcorn ceiling repair is paramount. Here are comprehensive safety tips for repairing popcorn ceilings to protect yourself and your home. Before starting any repair work, it’s essential to test the ceiling for asbestos and seek professional help if necessary, as disturbing asbestos-containing materials can release harmful fibers into the air. Additionally, proper preparation, such as sealing off the area and wearing protective gear, can help minimize risks and improve the outcome of the project. Being aware of common pitfalls, like using the wrong tools or techniques, can help you avoid removing popcorn ceiling mistakes that could lead to further damage or safety hazards.
1. Check for Asbestos
Importance: Before it was outlawed in the late 1970s, asbestos—a dangerous substance connected to cancer and lung disease—was frequently utilized in popcorn ceilings. There’s a good probability your popcorn ceiling contains asbestos if your house was constructed before 1980.
Steps:
- Professional Testing: Have a sample of your ceiling tested by a trained asbestos professional. As asbestos fibers might be released into the air by disturbing the material, do not try to collect samples yourself.
- Asbestos Abatement: To remove asbestos if it is present, get in touch with a certified asbestos abatement professional. Never try to remove anything that contains asbestos on your own.
2. Prepare the Area
Protecting the Space:
- Clear the Space: Take out all mobile objects, furniture, and decorations from the space. To shield any leftover fixtures from dust and dirt, cover them with plastic sheeting.
- Plastic Sheeting: Cover the walls and floors with plastic sheeting to avoid mess and facilitate cleanup.
- Seal Off the Area: To stop dust from spreading, use plastic sheeting to isolate the work area from the rest of the house.
3. Personal Protective Equipment (PPE)
Essential Gear:
- Respirator: To prevent yourself from breathing in dust and possibly asbestos fibers, put on a high-quality respirator with a P100 filter.
- Safety Goggles: Wear safety goggles to shield your eyes from dust and debris.
- Gloves: To shield your hands from sharp objects and materials, put on sturdy work gloves.
- Coveralls: To shield your skin and clothes from dust and debris, use disposable coveralls.
4. Wet the Ceiling
Minimizing Dust:
- Spray Bottle: Use a spray bottle to mist the area you’re working on with water. This helps to minimize dust and makes the material easier to scrape off.
- Water and Detergent Mixture: For better results, mix a small amount of dish detergent with water. The detergent helps the water penetrate the popcorn texture more effectively.
5. Scraping the Ceiling
Safe Techniques:
- Use the Right Tools: Use a wide putty knife or a specialized popcorn ceiling scraper to gently remove the texture. Be careful not to gouge the underlying drywall.
- Work in Sections: Divide the ceiling into manageable sections and work slowly to maintain control and minimize dust.
- Controlled Pressure: Apply gentle pressure when scraping to avoid damaging the drywall beneath the texture.
6. Repairing Damaged Areas
Patch and Smooth:
- Patching Compound: After removing the popcorn texture, inspect the ceiling for any damage. Use a joint compound to fill any holes, cracks, or dents. Apply the compound with a putty knife and smooth it out.
- Sanding: Once the compound is dry, sand the repaired areas smooth with fine-grit sandpaper. Use a sanding pole to reach high areas without strain.
- Primer: Apply a primer to the repaired areas to ensure a uniform surface for painting or retexturing.
7. Retexturing or Painting
Finishing Touches:
- New Texture: If you plan to retexture the ceiling, choose a method that suits your style, such as knockdown, orange peel, or a smooth finish. Use a texture sprayer for even application.
- Painting: If you prefer a smooth ceiling, paint it with high-quality interior paint. Use a roller with an extension pole for even coverage and ease of application.
8. Cleaning Up
Proper Disposal:
- Containment: The plastic sheeting used to cover the walls and floors should be folded and sealed carefully. Use sturdy trash bags to dispose of it to stop the dust from spreading.
- Vacuum: To remove any last bits of dust, use a vacuum equipped with a HEPA filter. HEPA filters are made to capture tiny particles to provide complete cleaning.
- Shower: As soon as the repair is finished, take a shower and wash your clothes to get rid of any last bits of dust or dirt.
9. Post-Repair Ventilation
Ensuring Air Quality:
- Ventilate the Space: To remove any leftover dust or paint or texture product fumes, open windows and turn on fans.
- Air Purifiers: To enhance indoor air quality and eliminate any remaining dust particles, think about utilizing an air purifier equipped with a HEPA filter.
10. Regular Inspection and Maintenance
Prevent Future Issues:
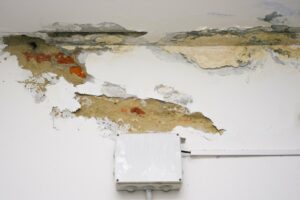
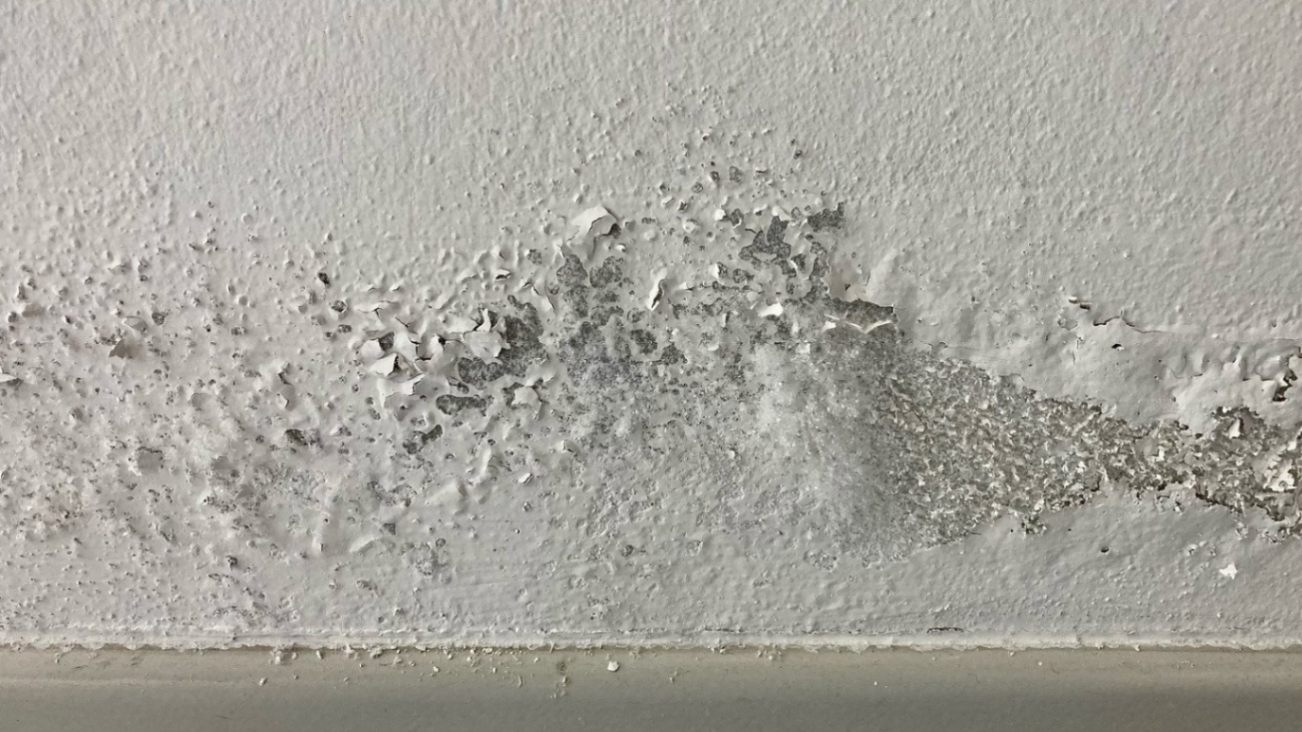
- Routine Checks: Regularly inspect your ceilings for signs of damage, such as cracks, water stains, or peeling paint. Address issues promptly to prevent further damage.
- Humidity Control: Maintain proper humidity levels in your home to prevent moisture buildup, which can damage ceilings and promote mold growth.
Conclusion
Popcorn ceiling repair can be difficult, particularly if there may be asbestos involved. It is crucial to put safety first by being well-prepared, wearing personal protection equipment, and using cautious methods. You can protect everyone’s health and well-being in your home and ensure a successful and safe popcorn ceiling repair by adhering to these safety precautions. Always get professional advice from Drywall Medic before testing or removing asbestos, and take your time to do each task completely. When properly designed and installed, your ceilings will not only look fantastic but also last for many years. To contact Drywall Medic professionals here are the details:
- Victoria, BC: #136 – 2936 Amy Rd, Victoria, BC, V9B 0B2, Contact Number- 250-880-8849,
- Vancouver, BC: 6894 192 St, Surrey, BC V4N 0B7, Contact Number- 604-913-4656