One of the most frequent problems that homeowners deal with is water damage, and drywall is particularly prone to moisture. To preserve the integrity and aesthetic appeal of the wall, drywall repair following water damage necessitates close attention to safety protocols as well as repair methods. These are some vital pointers for fixing drywall damage caused by water damage.
Assess the Damage
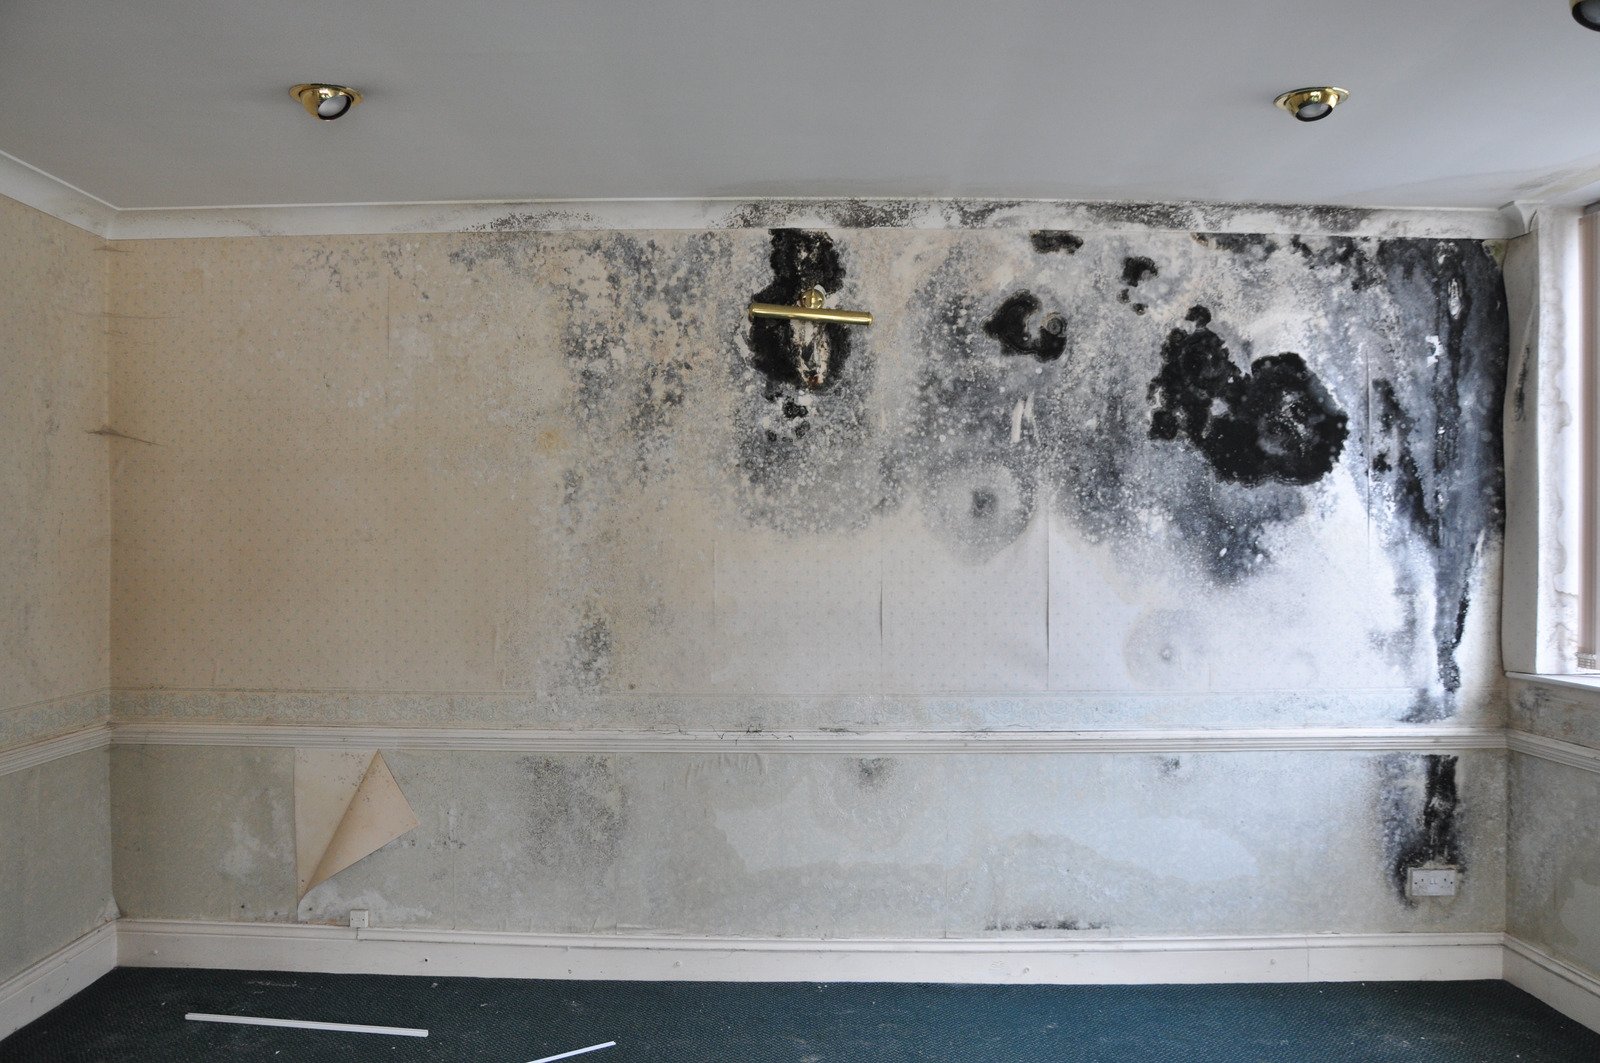
Before jumping into repairs, it’s crucial to assess the extent of the water damage. Not all damage is visible at first glance, so a thorough inspection is necessary.
- Visible Damage: Look for obvious signs like discoloration, bubbling, peeling paint, or sagging drywall. These are clear indicators that water has infiltrated the wall.
- Softness and Crumbling: Gently press on the affected drywall. If it feels soft or crumbles under pressure, it likely needs to be replaced rather than repaired.
- Mold Growth: Mold can develop quickly in damp environments. Check for dark spots or musty odors, which indicate mold. If mold is extensive, it’s important to call a professional for remediation before attempting repairs.
Cut Off the Water Source
In order to stop additional damage, you must stop the water source before starting any drywall repair.
- Fix Leaks: Prior to repairing the drywall, address any leaks that may have resulted from a window, roof, or pipe that caused the water damage.
- Dry the Area: Make sure the impacted area has been completely dried off. To expedite the drying process, open windows, use fans, or dehumidifiers. If there is any moisture left in the walls after the repair, mold may form and cause more damage.
Remove Damaged Drywall
Once the water source has been addressed and the area is dry, it’s time to remove the damaged drywall. Once the water source has been addressed and the area is dry, it’s time to remove the damaged drywall. Carefully cut out the affected sections, making sure to avoid any electrical wiring or plumbing behind the wall. After removing the damaged portions, assess the surrounding area for signs of minor damage, as you may need to focus on patching small holes in drywall to ensure a smooth and seamless surface before proceeding with repairs.
- Cut Out Damaged Sections: Use a utility knife or drywall saw to cut out the damaged portions of drywall. Be sure to cut slightly beyond the visibly damaged area to ensure you remove all the water-affected material.
- Inspect Insulation: If the drywall was soaked through, the insulation behind it may also be damaged. If insulation is wet, it needs to be removed and replaced to prevent mold growth and retain energy efficiency.
- Dispose of Debris Safely: Bag up the damaged drywall and insulation and dispose of them according to local regulations. Water-damaged materials can harbor mold, so proper disposal is important for health and safety.
Dry the Area Completely
Before beginning the repair, make sure the other components of the structure—studs, insulation, etc.—are totally dry after removing the damaged drywall.
- Use Fans and Dehumidifiers: To remove any residual moisture, place fans or dehumidifiers close to the exposed surfaces. It could be necessary to run them for a few days, contingent on the extent of the water damage.
- Moisture Meters: To look for any hidden moisture in the walls, think about using a moisture meter. In order to stop further damage or the growth of mold, the area must be fully dried.
Apply Mold Treatment if Necessary
If mold is present, you’ll need to treat the affected area before moving forward with the repair.
- Mold-Resistant Solutions: Use a mold-killing solution, such as a mixture of water and bleach (1:3 ratio), to treat the area. Be sure to wear gloves, a mask, and eye protection when handling chemicals.
- Seal the Area: Once the mold has been treated and the area is dry, apply a mold-resistant primer or sealant to prevent future mold growth. This is especially important in moisture-prone areas like bathrooms and basements.
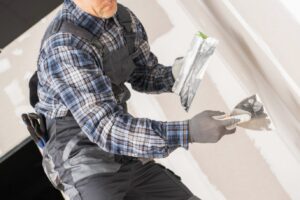
Replace and Repair Drywall
You can replace the damaged drywall now that it has been removed and the region has dried.
- Measure and Cut New Drywall: Measure the space where the old drywall was removed, then cut a piece of new drywall to match the designated area. A utility knife can be used to produce precise, clean cuts.
- Attach the Drywall: Using drywall screws, attach the freshly installed drywall to the studs by fitting it into place. Make sure the new component is flush with the drywall that already exists.
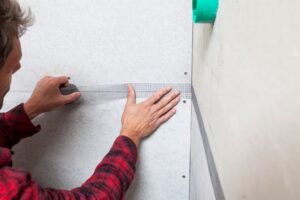
- Tape the Seams: Use drywall tape to seal the joints where freshly installed drywall and the existing wall meet. This will facilitate the creation of a smooth surface when the joint compound is used.
Conclusion
Repairing drywall after water damage may seem daunting, but by following these tips and taking proper precautions, you can restore your walls and prevent future issues. From assessing the damage to ensuring thorough drying, each step is essential for a long-lasting, professional repair. Still You have any doubt while repairing then you can contact experts from Drywall Medic, here are the details:
- Victoria, BC: #136 – 2936 Amy Rd, Victoria, BC, V9B 0B2, Contact Number- 250-880-8849,
- Vancouver, BC: 6894 192 St, Surrey, BC V4N 0B7, Contact Number- 604-913-4656