Water damage to ceilings can result from leaking roofs, burst pipes, dampness, and plumbing problems during Vancouver’s rainy season, which runs from October to April. Staining, sagging, and structural issues may result from this. These problems must be resolved quickly to preserve the integrity and beauty of the house.
Ceiling water damage may result from the city’s humid climate, which is marked by high humidity, excessive rainfall, and lingering moisture. Stains, sagging drywall, mold development, and structural weakness can be caused by leaky roofs, overflowing gutters, humidity, and plumbing problems. To avoid potential health hazards and long-term degradation, prompt intervention is crucial.
Identifying the Source of the Leak:
Finding the source of the problem is crucial to fixing a water-damaged ceiling and avoiding future issues. In Vancouver, common violators include plumbing problems including burst pipes or malfunctioning fixtures, gutter overflow from clogged or damaged gutters, and roof leaks from heavy rain.
While poorly sealed windows and skylights may allow water to flow onto ceilings, inadequate ventilation in attics, bathrooms, and kitchens can lead to condensation problems. Look for leaks from equipment that could damage the ceiling below, such as dishwashers or washing machines.
Examine the impacted area closely for any visible leaks, mold development, or water stains. Before beginning ceiling repairs, if required, have a qualified plumber or roofer identify and address the underlying problem.
Assess the Extent of the Damage
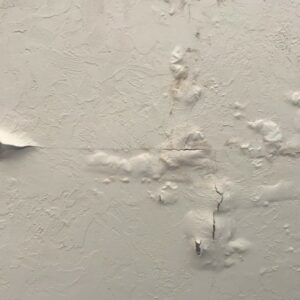
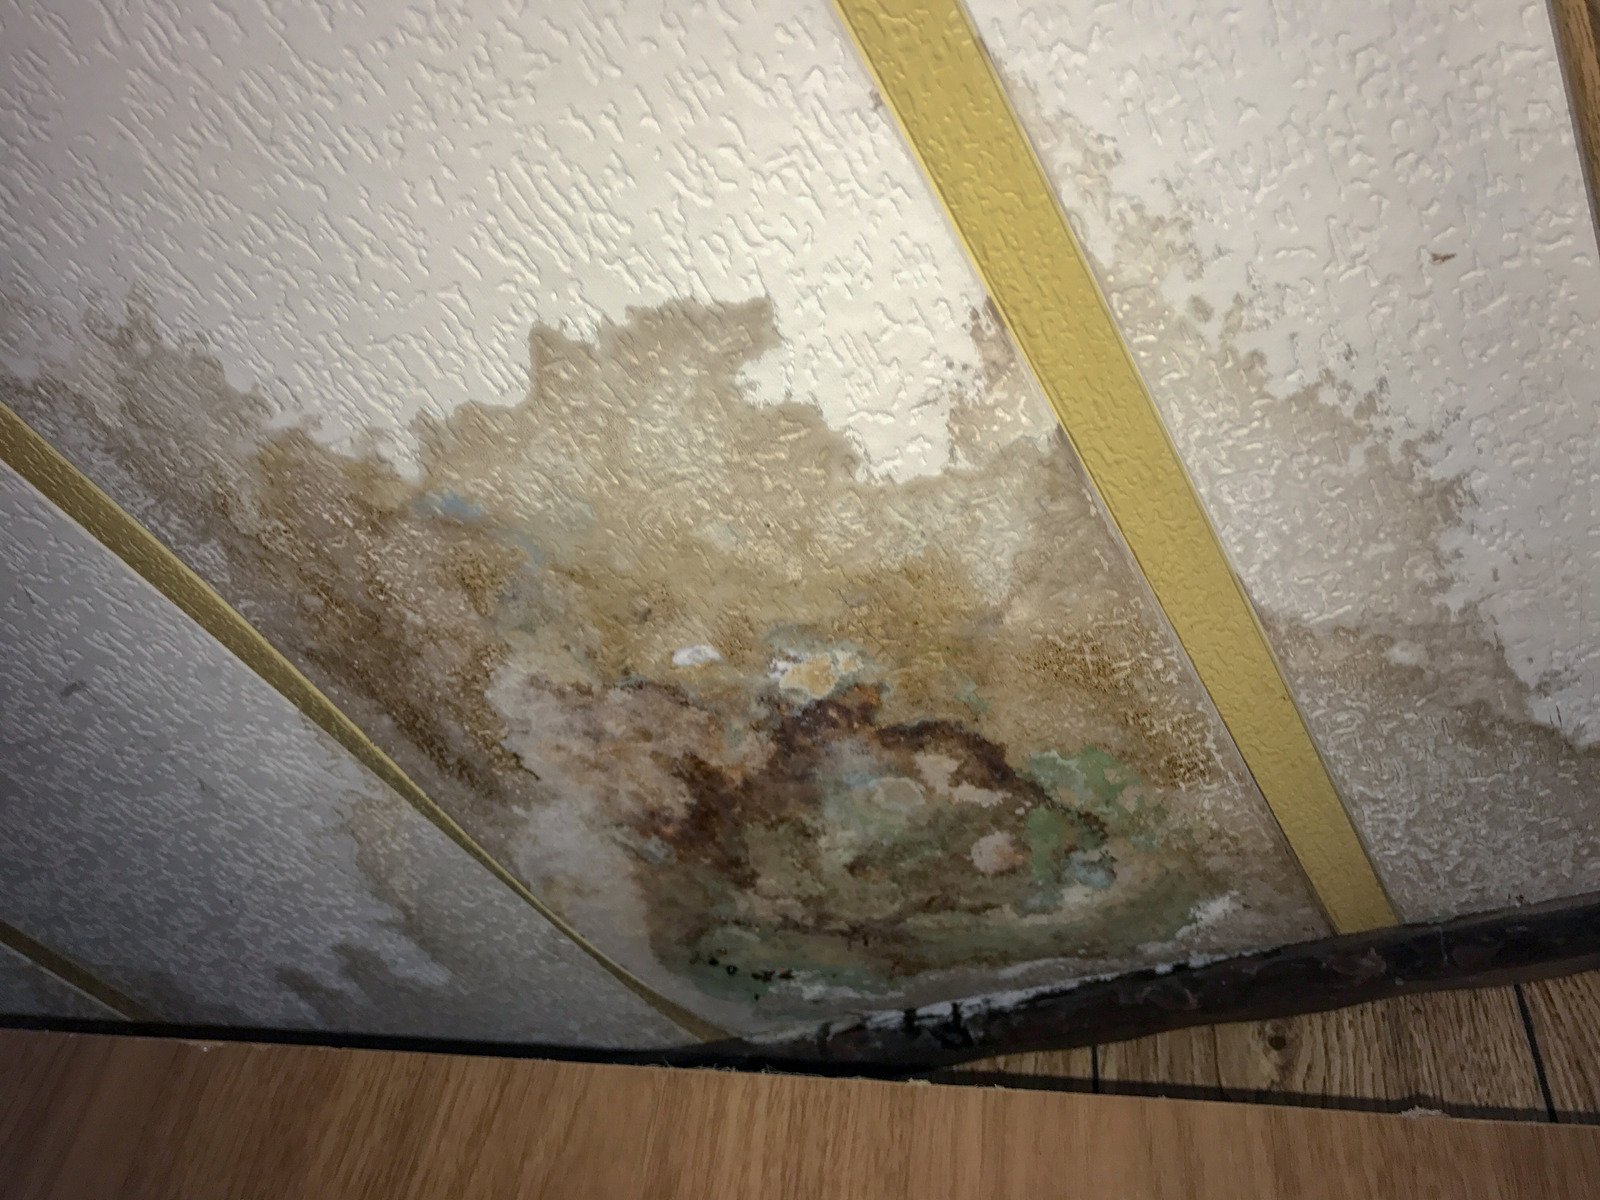
To repair ceiling damage, assess the extent of the damage, identifying signs such as yellow or brown stains, sagging drywall, peeling paint, and mold or mildew growth. If the damage is minor, simple repairs may suffice, while severe cases may require ceiling replacement.
These signs indicate long-term water exposure, excessive water absorption, trapped moisture, and potential health risks. Professional remediation is necessary for severe cases.
Remove any Damaged Materials and Thoroughly Dry the Affected Area
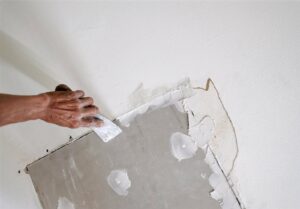
Before making repairs, the impacted area must be completely dry to avoid mold growth and damage. After removing extra water and increasing air circulation, give the ceiling a full 24 to 48 hours to dry. To preserve structural integrity, remove and replace any drywall that has experienced significant water damage.
To make repairing easier, trim off damaged areas and wear protective clothing. Before putting in new drywall, check the insulation and replace any that are moldy or wet. Before applying a mold-resistant solution to ceiling joists, make sure they are completely dry and check for moisture. To make patching easier, wear protective clothing and make sure the edges are clean and straight.
Repair and Patch the Ceiling
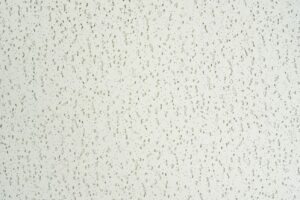
To patch a ceiling, use a joint compound and a putty knife to fill in minor damage, let it dry, sand it smooth, and apply primer before repainting. For larger areas, cut a new piece of drywall, secure it with screws, and apply joint compound over the seams. For textured ceilings, use a matching texture spray or sponge technique. Apply multiple thin layers of joint compound for a seamless finish.
Prevent Mold and Mildew Growth
Mold is a common issue in Vancouver homes due to its growth in damp environments. To prevent mold, use a mold-resistant primer before repainting, improve ventilation with exhaust fans, control humidity levels with dehumidifiers, and inspect ceilings regularly. If mold has already formed, use vinegar or hydrogen peroxide solution to clean the area or hire a professional mold remediation service.
Preventing Future Water Damage:
After repairing a water-damaged ceiling, prevent future issues by regularly inspecting the roof, scheduling repairs, ensuring proper ventilation in bathrooms and kitchens, insulating exposed pipes to prevent freezing and bursting during cold weather, and regularly checking and addressing leaks in appliances to prevent future issues.
Safety Precautions:
Before starting any repairs, prioritize safety. If the ceiling is sagging significantly or you suspect structural damage, consult a professional immediately. Take the following precautions:
- Turn off electricity: If the leak is near electrical wiring, turn off the power to the affected area.
- Wear protective gear: Wear gloves, goggles, and a mask to protect yourself from mold spores and debris.
- Clear the area: Remove furniture and belongings from the affected area to prevent further damage.
Conclusion
Water damage to ceilings can be a significant concern for Vancouver homeowners, especially during the rainy season. By identifying the source of the leak, assessing the damage, and taking appropriate action, you can effectively repair your ceiling and prevent future problems. Whether you choose to DIY or seek professional help, addressing water damage promptly is crucial to maintaining the safety and value of your home. If you are facing water damage in your Vancouver home, contact Drywall Medic for expert ceiling repair, water damage restoration, and mold prevention solutions. We are here to help keep your home safe and looking its best—rain or shine. Here are the contact details of them: