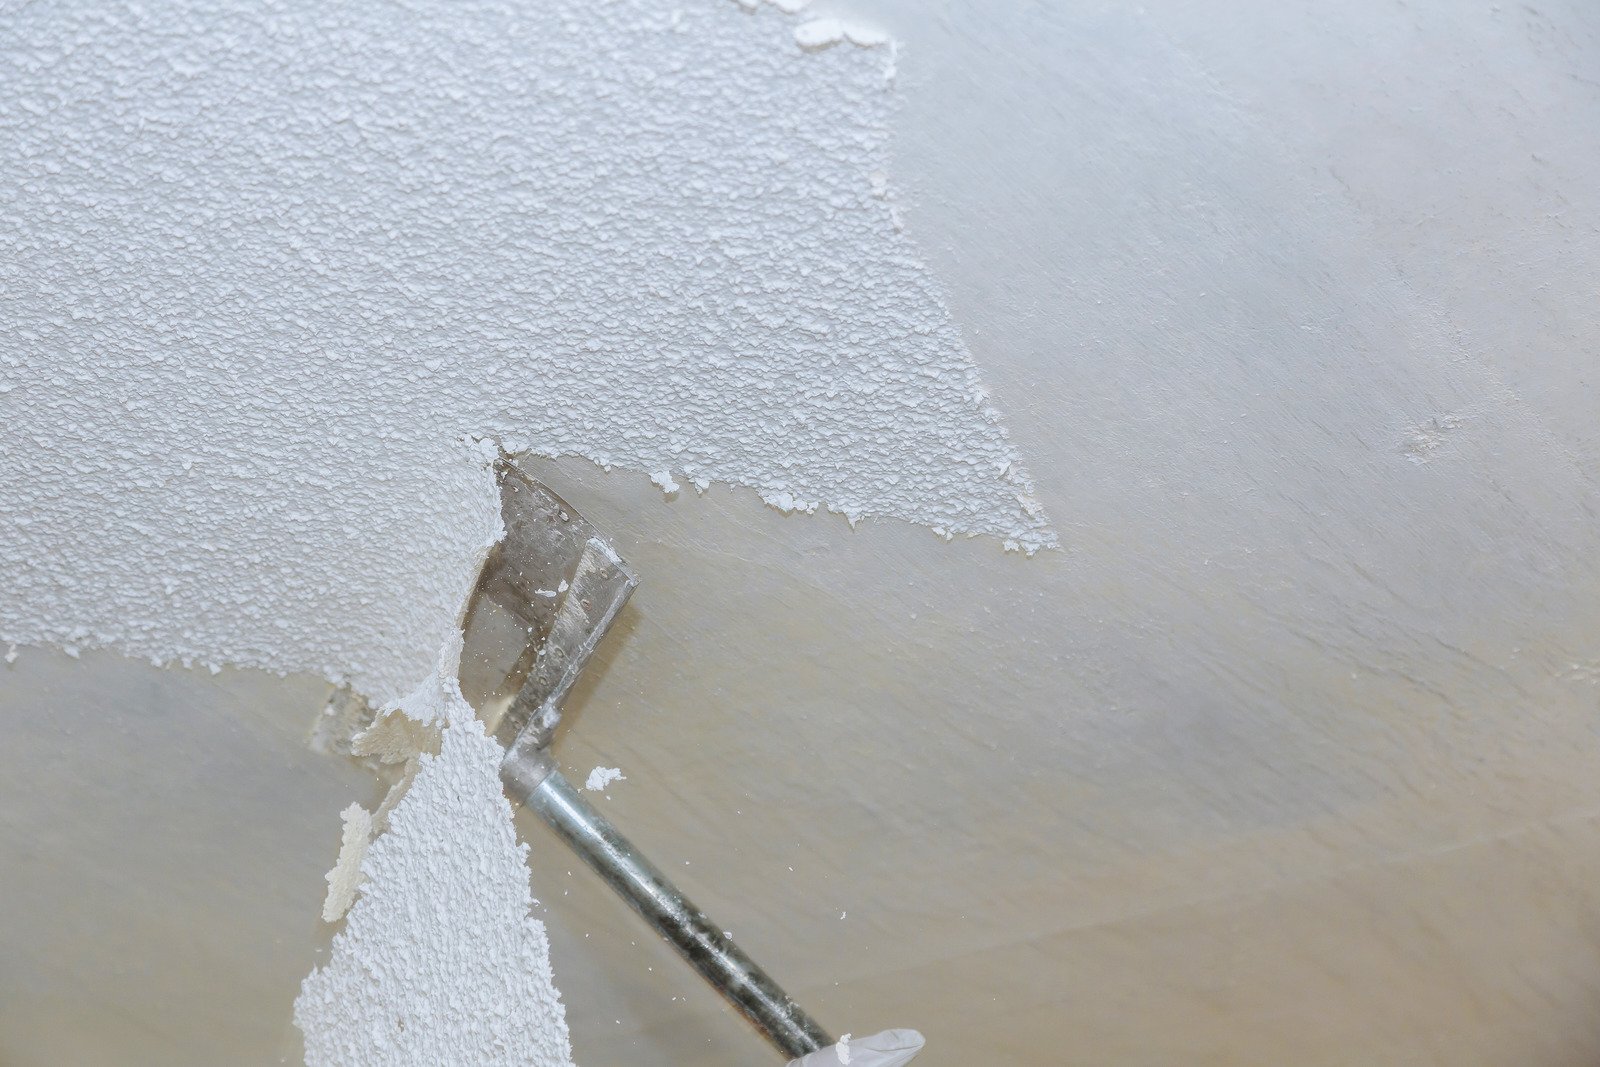
Popcorn ceilings, formerly popular, are now considered antiquated due to their abrasive texture and associated asbestos health dangers. When removing popcorn texture from drywall, homeowners may see stains that range from watermarks to discoloration and damage caused by the removal process. Understanding the causes of these stains and removing them efficiently is critical to creating a smooth, immaculate ceiling. This article includes step-by-step instructions for removing popcorn ceiling stains.
Why Popcorn Ceiling Removal Leaves Stains
Several factors contribute to the staining that often appears after popcorn ceiling removal. These include moisture, chemical reactions, and the physical impact of removing the texture. Here’s a closer look at the primary causes:
-
Moisture from the Removal Process
During removal, the popcorn ceiling texture absorbs moisture, weakening and discoloring the drywall paper. Excessive use of water or chemical solutions can erode the texture, making drywall fragile and prone to damage. To preserve popcorn ceiling texture, removal, and upkeep must be done correctly.
-
Drywall’s Vulnerability
The removal of popcorn ceiling texture might result in tiny scratches and gouges due to the absorption of moisture from removal operations by drywall. This deterioration exposes the inner layers, resulting in stains that are difficult to remove. Yellowish or brownish markings may form, resulting in unpleasant and sometimes irreversible damage.
-
Chemical Reactions
Commercial popcorn ceiling removal products contain chemicals designed to break down texture, but they can react with drywall surfaces, leaving stains and causing color changes or degradation. Over-use or improper cleaning can lead to uneven results, especially in areas where the solution was over-applied or not thoroughly cleaned after use.
-
Physical Scraping and Removal Damage
Ceilings that have popcorn texture removed improperly may sustain gouges, scratches, and scrapes that increase their vulnerability to discoloration and the accumulation of moisture or debris. Additionally, improper removal may result in deeper drywall damage, increasing the likelihood of discoloration in these areas.
-
Stains from Pre-existing Issues
Popcorn ceilings may have hidden stains from years of water damage, smoke, and dust. These concealed stains show up on the drywall when the texture is eliminated. If there has been a history of water damage or leaks, the texture may have masked these stains, which will be exposed after cleaning.
How to Fix Stains After Popcorn Ceiling Removal
Now that we understand the reasons behind the stains, it’s time to discuss how to fix them. The good news is that with the right techniques, most stains can be addressed effectively, and your ceiling can be restored to its original condition.
-
Clean the Ceiling Thoroughly
Before beginning any restoration work, clean the ceiling to eliminate dust, debris, and texturing remnants. Gently cleanse the surface with a vacuum cleaner or a moist cloth; if stubborn texture remains, use a drywall sponge or soft-bristled brush.
-
Addressing Water Stains
After removing the popcorn ceiling, water stains—which are frequently yellow or brown—can be eliminated. To repair them, apply a stain-blocking primer, sand to smooth the surface, apply joint compound if the stains are deep, apply another primer, and then apply a new coat of paint to seal the surface and hide the stain.
-
Fixing Chemical Stains
Use a premium stain-blocking primer, skim the ceiling with joint compound, sand, apply primer, and then paint to remove chemical stains or popcorn ceiling discoloration. By hiding flaws or chemical reactions, this technique helps keep the fresh paint from leaking.
-
Repairing Physical Scraping Damage
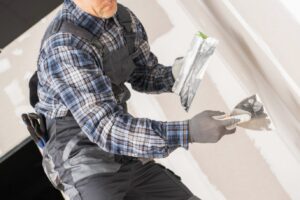
Use a joint compound and a drywall knife to smooth out any little dings or scratches on the ceiling. After the compound has completely dried, sand the surface using fine-grit sandpaper or, for larger areas, a pole sander. Apply primer to protect the surface after the repairs are dry and smooth, then paint for a new look. This technique guarantees a clean and smooth ceiling.
- Dealing with Pre-existing Stains
Use a stain-sealing primer for obvious water stains and evaluate the staining to determine whether it is related to previous water damage. Apply a layer of joint compound to hide the stains and smooth out the surface if they are deep or extensive. By doing this, the staining will be less likely to come through after painting.
Conclusion
To repair your home’s appearance and get rid of unsightly stains and damage, Drywall Medic provides popcorn ceiling removal services. The afflicted sections must be cleaned, primed, patched, and resurfaced. The team of professionals at Drywall Medic is here to assist if the repair procedure seems too much to handle. You can rely on them to bring back your ceiling to its former beauty, guaranteeing a clean, stain-free surface for many years to come. Here are the contact details of Drywall Medic:
- Victoria, BC: #136 – 2936 Amy Rd, Victoria, BC, V9B 0B2, Contact Number- 250-880-8849,
- Vancouver, BC: 6894 192 St, Surrey, BC V4N 0B7, Contact Number- 604-913-4656


